Hostwinds Tutorials
Search results for:
Adding a favicon to your WordPress site can improve its branding and identity in your visitor's browser; it is also straightforward to do!
What Is a Favicon?
The logo you see on the tab of the website you are browsing or that same website's bookmark. Here is an example showing the Hostwinds logo in a browser tab.

To set up your own favicon, you will need an image with a resolution of at least 512 x 512 pixels in size; the file can be formatted as a JPEG, PNG, GIF, etc.
First, log in to your WordPress admin page, usually found at yourwebsite.com/wp-admin or a similar URL.
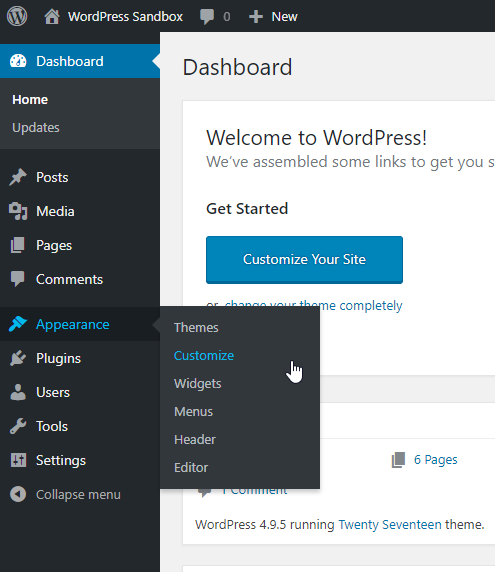
Then from the Dashboard Administration Screen, go to:
Appearance -> Customize
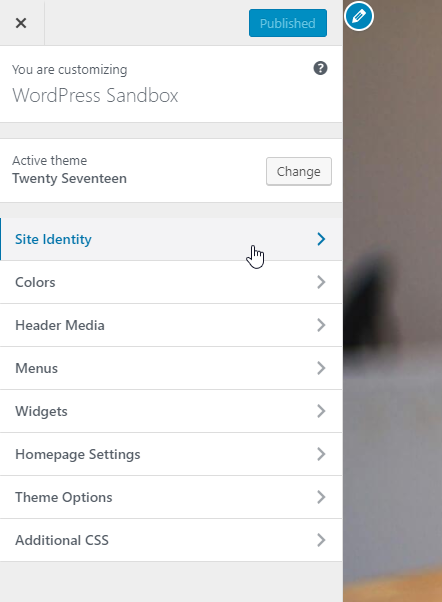
Site Identity
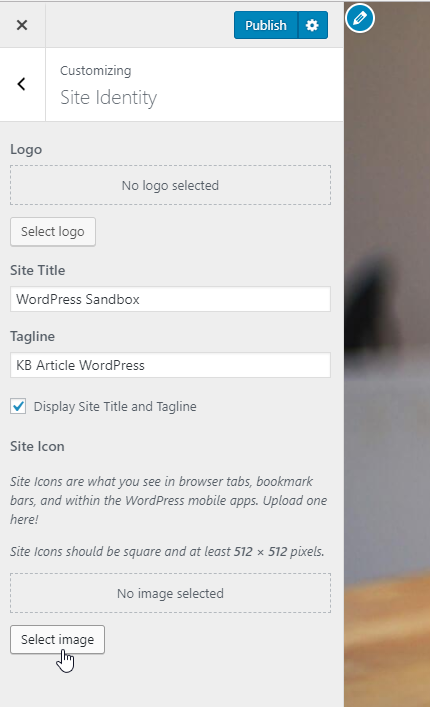
Site Icon -> Change Image
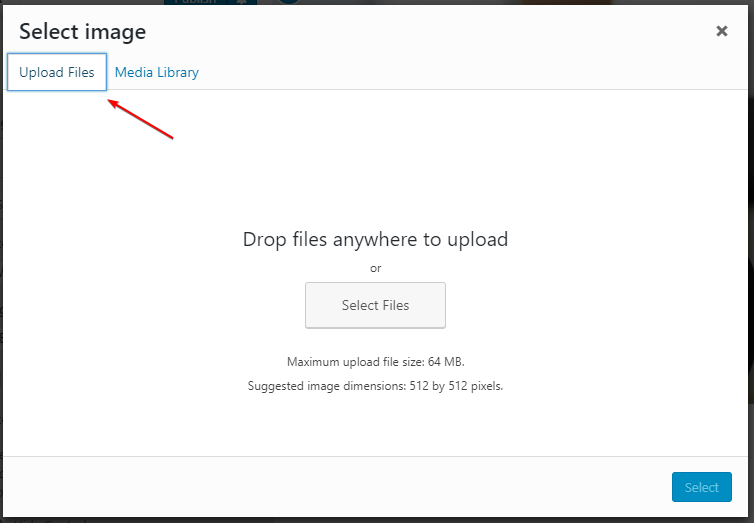
Upload Files
Now drag & drop the image file from your computer, or Select and browse to the image file on your local computer that you wish to use.
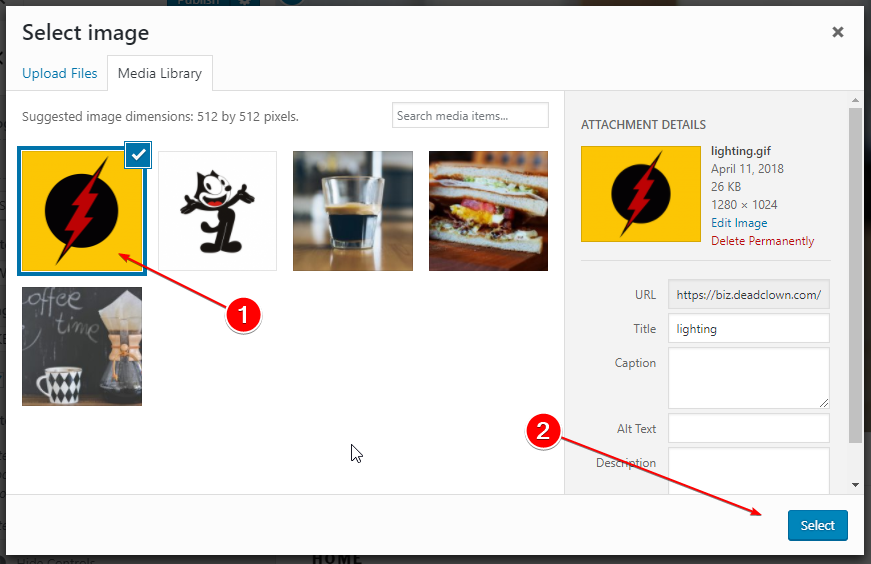
After you upload your file, it will automatically select the image you uploaded within the Media Library tab. Just click Select in the bottom right to continue.
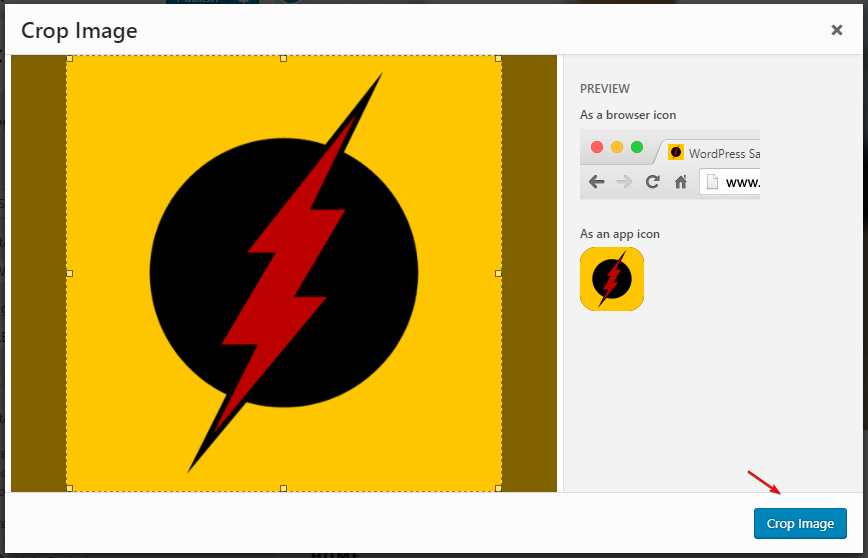
If your image is not square, then WordPress will automatically crop it as shown here. Just click on Crop to complete the image selection.
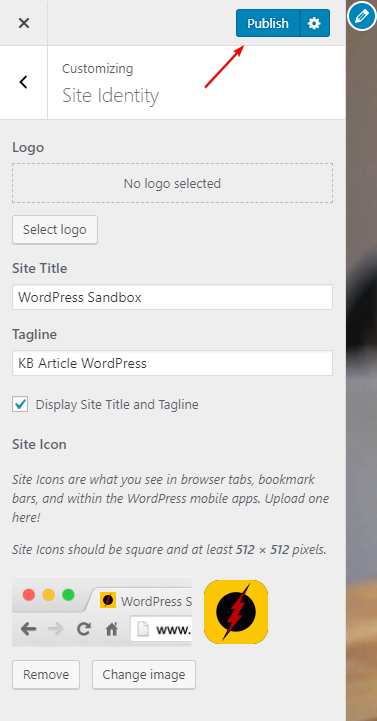
Click Publish in the top-right if you are happy with the appearance of your favicon to complete the installation.
If we can help you in any way, please submit a ticket, or join us in a LiveChat anytime. We are available 24/7/365, and we are dedicated to our client's success; every client truly matters to us.
Written by Hostwinds Team / April 16, 2018
