Hostwinds Tutorials
Search results for:
Table of Contents
WordPress: Deleting Posts
Tags: WordPress
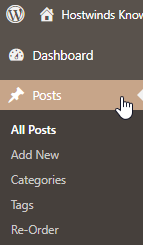
You will need to log into your WordPress and select Posts (typically on the left-hand side) to view current posts within your WordPress application. If you do not have a post, please see "Creating A Post In WordPress" before proceeding with this article.
Hover over the post you would like to delete, and a menu with edit, quick edit, trash, and preview should appear. Selecting Trash will quickly delete the current post among the column of posts you currently have.

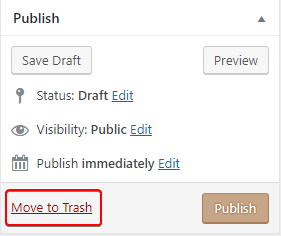
If you would like to review the post before deleting it, you can select edit. From edit, you can review the current post and remove it by selecting Move To Trash if still desired.
Can I Delete Several Posts At Once?
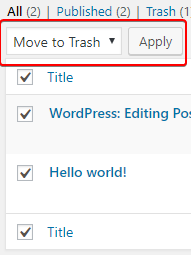
WordPress does allow the deletion of multiple posts at one time. At the top of your post page will be a drop-down to select Move To Trash category. Each selected post with a checkmark inside it will be sent to your trash folder after clicking on Apply.
Are My Post Now Deleted Permanently?
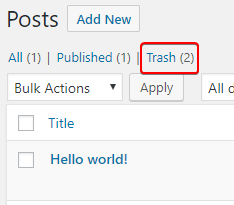
After deleting posts by selecting Trash, your posts are sent to your trash folder within your Post category. Selecting Trash (will have a number with the number of posts currently contained) will take you to your trash folder, populating a column of any current trashed posts.
If you delete a post in error or want to recover a post, you can hover over the post and choose Restore. Restoring will populate your deleted post back in your active or drafted post area. Selecting Delete Permanently will permanently delete the individual post, and Empty Trash will permanently delete everything within the trash folder.
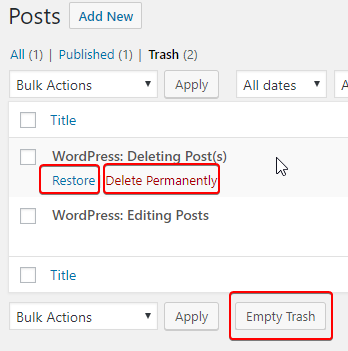
Items in your trash folder will be deleted upon 30 reoccurring days of staying in the directory by default.
Written by Hostwinds Team / April 24, 2018
