Hostwinds Tutorials
Search results for:
If you've landed on this tutorial, then chances are you have a disabled Virtual Server in Virtualmin that you're now ready to re-enable. This process is fairly straightforward. However, you'll need to have access to the root user account for the server. Only the root user is guaranteed to have the necessary access to re-enable a disabled server. This guide will show you how to use the root user to re-enable a disabled server in Virtualmin. Make sure you have Virtualmin installed with Webmin access before proceeding any further with this guide. A few guides that can help you do that are found here:
Once you're ready, please refer to the following guides:
Step 1: Click on the Virtualmin section
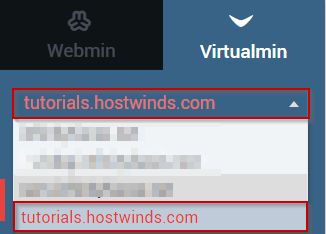
Step 2: Select the disabled server from the drop-down menu

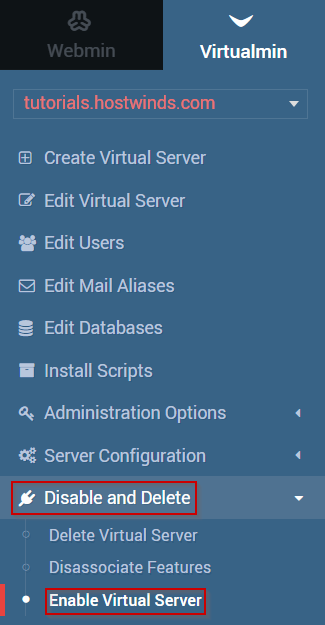
Step 3: Select the Disable and Delete option
Step 4: Click on the Enable Virtual Server module

Step 5: Select if you'd like to enable sub-servers
Step 6: Click the Yes, Enable It button

Once this process is complete, the Virtual Server should now be re-enabled, and all of its associated login credentials should work as expected.
Written by Michael Brower / June 21, 2017
