Hostwinds Tutorials
Search results for:
Table of Contents
Is There A Limit to How Many IP Addresses I Can Have?
Tags: Cloud Servers, Dedicated Server
Hostwinds allows purchasing many IPs for your Cloud, VPS, or Dedicated server with Hostwinds. It's up to you how many you wish to purchase, and this can be done easily through your Cloud Portal.
How Do I Add More IPs To My Cloud Server?
If you want to add more IPs to your cloud server, you can do so in your Client Area and following these steps.
Step 1: Go to Cloud Control and select Cloud Portal. This will open another browser with a list of all your current VPS instances.
Step 2: Click the server you want to add IPs to.

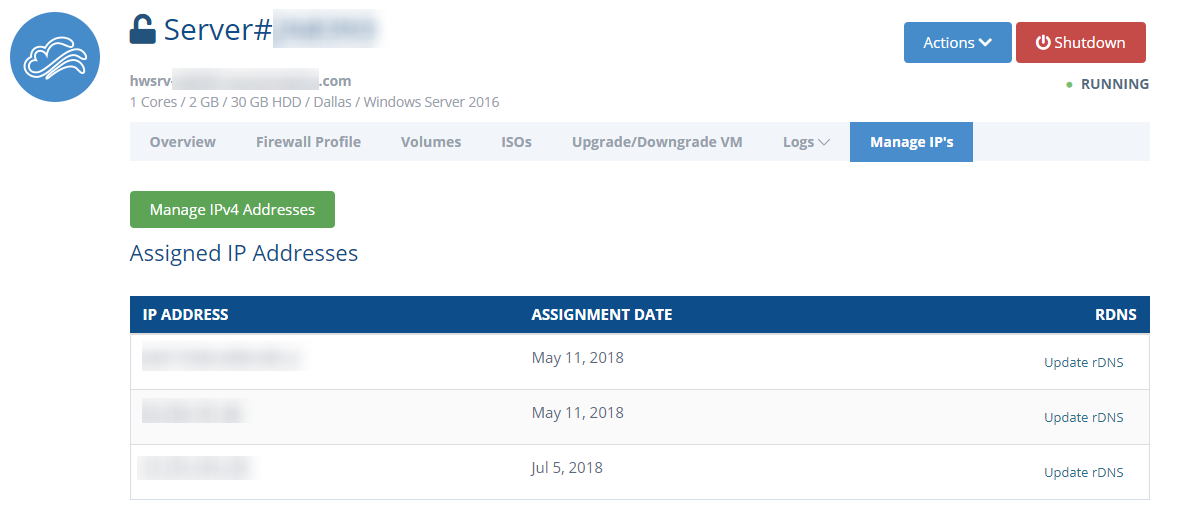
Step 3: Go to the Manage IP option for your server.

Step 4: Select the Manage IPv4 Addresses

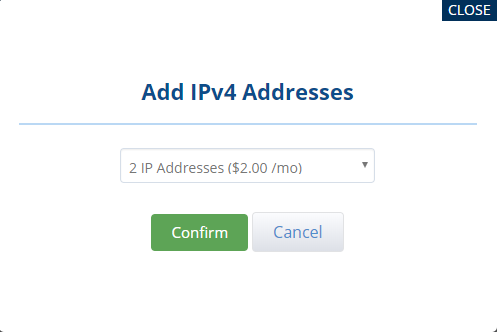
Step 5: Select the number of IPs you wish to add. Each additional IP is $2.00 per month. Once selected, click confirm

The reason says 2 IP addresses, but only 1 is issued because your dedicated IP is included with your service. Example: You buy 1 extra IP for $2/mo, you would then have 2 IPs with your server; your 2 IPs would include your dedicated IP and the one you just purchased.
Once confirmed, provided you have a payment method already on file, the invoice will be paid, and the IP will be added to your server. Otherwise, an invoice will be generated that will need to be paid before activation.
Step 6: You can now view and manage your IP('s) from your instance portal under Manage IPs. Your current and new IP('s) will be listed under Assigned IP Addresses.

How Do I Add More IPs To My Dedicated Server?
If you want to add IPs to your dedicated server, you purchase separate IP blocks by contacting us through Live Chat or opening a ticket. (ie Seattle /27, Dallas /24)
Written by Hostwinds Team / June 5, 2021
