Hostwinds Tutorials
Search results for:
Table of Contents
How To Use Object Storage To Host Files
Tags: Web Hosting
Hostwinds Cloud Portal is where all of our Cloud VPSes, snapshots, volumes, and backups are stored. In addition, you are also able to create your own containers to store and access any files you upload to our cloud storage. Whether using it to store important files, store manual backups, or even storing images or media to use for your websites, you can use Hostwinds Object Storage to hold your files and access them directly using an online web link.
How to Access Your Cloud Storage
You can access your Cloud Storage, which includes all of your Web Hosting Cloud Backups, Server Cloud Backups, and Storage Containers, by following these simple steps:
Step 1: First, log into your Hostwinds Client Area
Step 2: Next, click on the Cloud Control drop-down, and choose Cloud Portal

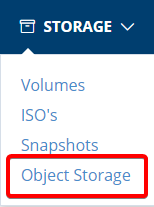
Step 3: On this page, select the Storage drop-down, and click on Object Storage
How to Access Your Files in Object Storage
To modify, add, or remove files from the Object Storage container, you'll need to get an S3 browser or file manager of some form. Afterward, you'll need to access your Object API Info; follow the steps below to get the API information and set up your S3 browser:
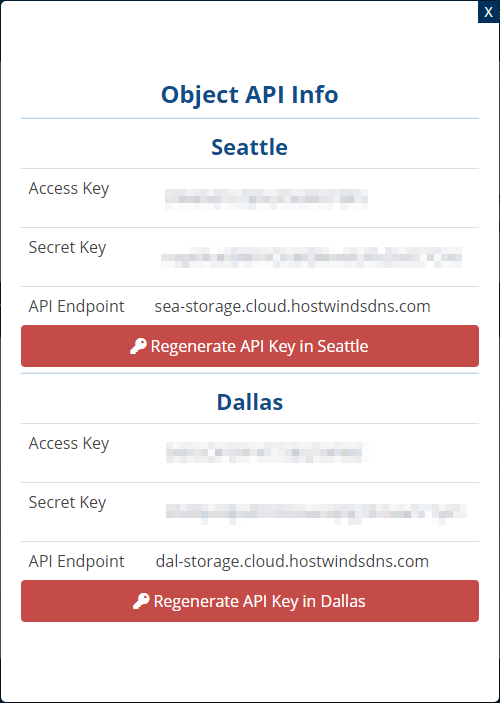
Step 1: Press the Object API Info button to view your details.

This will provide you with your Access Key, Secret Key, and API Endpoint for our available data center locations, as seen below:
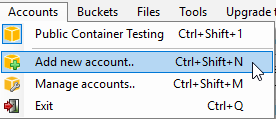
Step 2: Launch your S3 Browser, click on Accounts, and select Add New Account.
Step 3: Create the new account by filling out the necessary fields.
- Account name: You can name the account whatever you would like to name it. In the example below, the account name is labeled New Account

.
- Account Type: Select S3 Compatible Storage from the drop-down menu

- REST Endpoint: This will be the API Endpoint that you received from your Object API Info

- Signature Version: The default value of v2 is acceptable and can remain as-is for Hostwinds

- Access Key: This will be your Access Key from your Object API Info

- Secret Access Key: This will be your Secret Key from your Object API Info

Once you are done filling out the form, you can select Add New Account at the very bottom, and you'll be taken to a panel that looks similar to the one below:
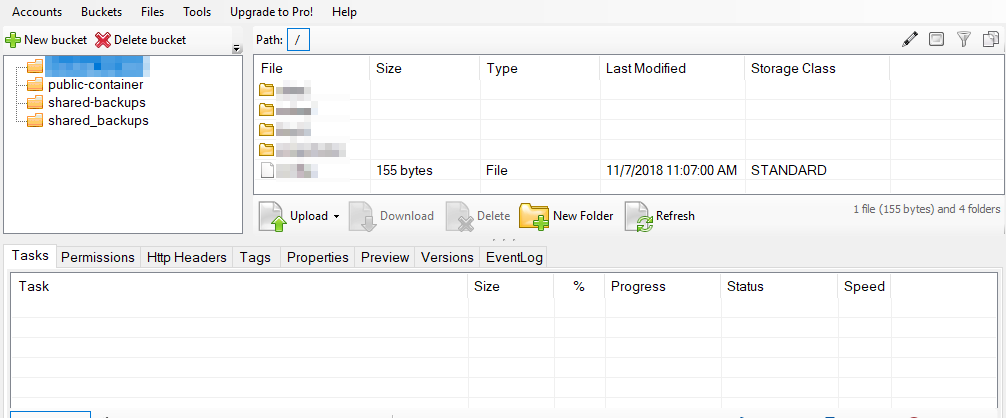
The panel will show you all of your containers, including any Shared or Cloud Backups and any other object storage you have available.
How to Upload Files To Your Object Storage
In your S3 browser, connect to the Container as shown in the previous section.
Step 1: Select the Container you wish to upload to
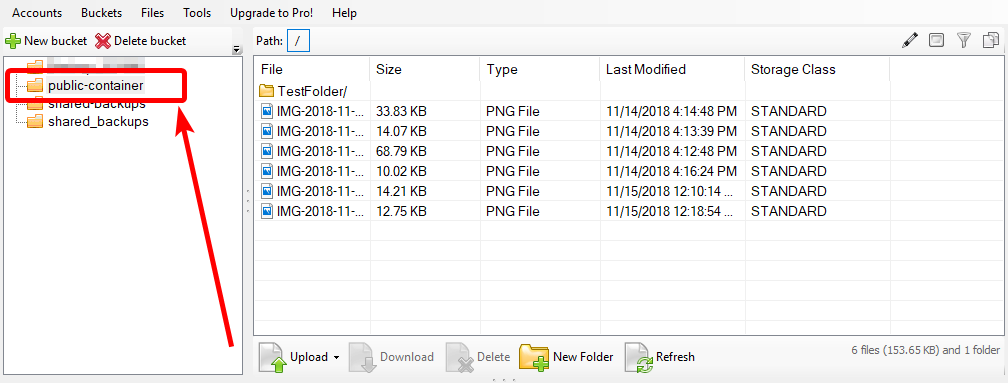
Step 2: Click on the Upload drop-down. You can select to upload files or folders from your local machine.

Step 3: Browse to the file or folder you wish to use, select it, and click either Open or Select Folder.
Your file will begin uploading onto the container. Please be aware that larger files may take longer to upload. The bottom task panel shows the progress of the upload.

You can also check the queued tasks that will run after the current one, the stopped tasks, and any failed tasks as needed.
How to View Your Stored Files
To see any of your files uploaded to a storage container, you can access them directly with a Hostwinds URL. Just follow these steps to do so:
Step 1: Find the Storage Container you wish to access, and check the box for it under Public to make it accessible.

Step 2: A link option will appear under Link when the container is public. Click on the link to access your storage container.
Step 3: You will see a list of all files and folders stored in the container. To access one of the listed files, copy the full file name and paste it to the end of your current URL

If you want your website to link to any files stored in Object Storage, you can use this full URL for the file path to do so.
If you make the Container no longer public, the URL will no longer be available. In addition, any files stored in the container you need to be linked to will have their original links broken and will need updating the new URL provided by the container.
Written by Hostwinds Team / June 5, 2021
