Hostwinds Tutorials
Search results for:
Table of Contents
How To Perform WHMCS Updates
Tags: WHMCS
Performing WHMCS Updates
When updates are available for your version of WHMCS, admins will be presented with an option at the top-left of the Admin area to Update Now.

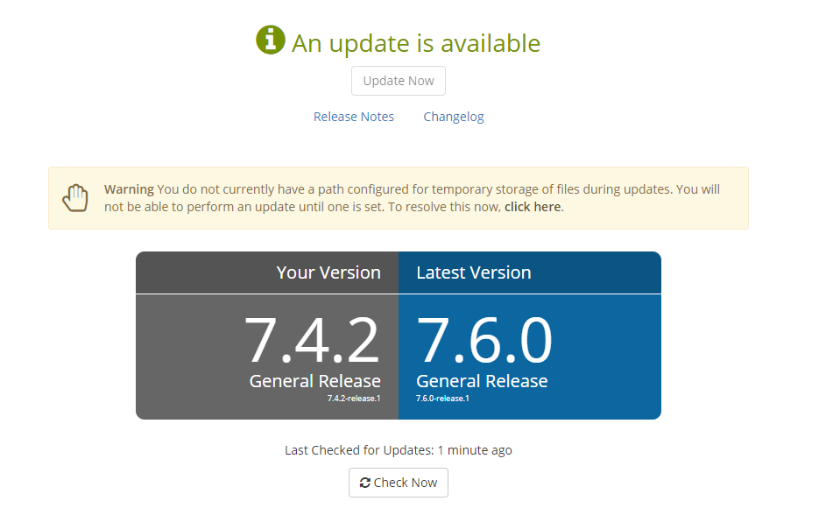
After clicking on the link, you will be presented with the following screen:

The versions will differ based upon the version you are using presently and the available updated versions.
If you are presented with the Warning regarding your temporary path not being set, you can resolve this by clicking on the link "To resolve this now, click here."
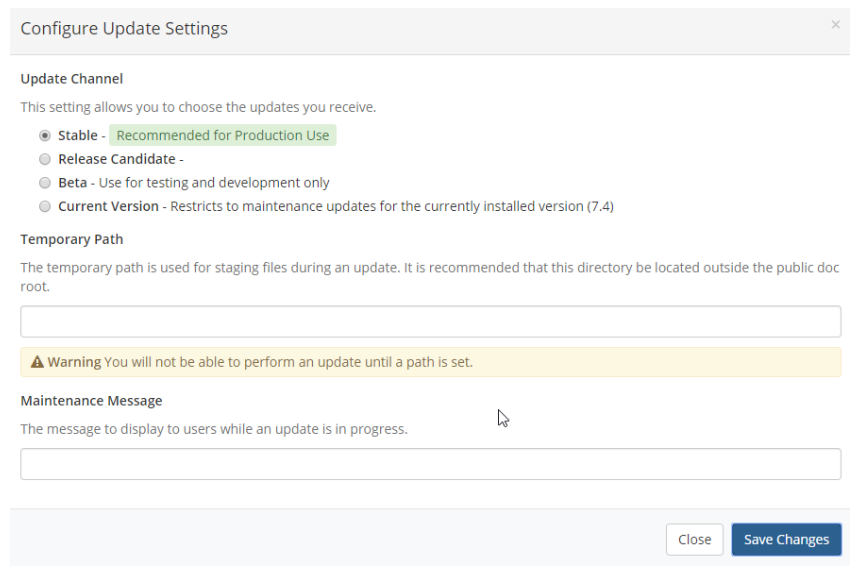
A pop-up will display, which requests options to be selected and a filepath input for the update to proceed.

First, select the version you wish to upgrade to, Stable, Release Candidate, Beta, or your current version of WHMCS.
You can read about the various versions of WHMCS here to help you with your decision.
The temporary path that is used needs to exist. It will also need to be in this format
/home/$cpanelUsername/Path.
So, if my cPanel username is an example, and I want to have my temporary folder by a folder labeled updates outside of my publicly accessible public_html folder, my temporary path would be:
/home/example/updates
Once this folder has been created in the correct location, you can type the full filepath in the field for "Temporary Path."
Lastly is the optional Maintenance Message. This is displayed to your users when attempting to access your Client Area or admin area during the upgrade. A message will appear such as "We'll be back shortly, performing updates" or your choice of message that you can be input here.
Once you have everything selected and filled out, you may proceed and press Save Changes.
Next, you will be presented with the option to "Update Now. " By pressing the update now, the upgrade process will begin for your current version of WHMCS to the new version you have selected to update to.
Written by Hostwinds Team / August 22, 2018
