Hostwinds Tutorials
Search results for:
Table of Contents
Install Vesta on a Cloud VPS
Tags: Cloud Servers, VestaCP , VPS
VestaCP is a cost-effective, open-source Control Panel for Linux VPS as an alternative to cPanel. It provides User, DNS, Mail, Database, Backup, Firewall, and Server, management. It also offers visual graphs, statistics, and a File Manager. You can set up Crons, configure IPs, and view server logs on a control panel. If you are looking for free alternatives to cPanel, VestaCP is an excellent platform.
Vesta Requirements
All that is required is an SSH connection. You can set up the base Linux Machine with Vesta in about 15 minutes.
Vesta Preparation
Before we begin installing Vesta, let's make sure everything is up to date on your VPS. Run the command below:
yum update
Installing Vesta
Step 1: Download the VestaCP installation package by running the command below.
wget [http://vestacp.com/pub/vst-install.sh](http://vestacp.com/pub/vst-install.sh)
Step 2: Run the VestaCP Installation Package and confirm by inputting "Y" or "y" then pressing enter.
bash vst-install.shBy doing so, you will install the following on your Linux VPS:
- Nginx Web Server
- Apache Web Server (as backend)
- Bind DNS Server
- Exim Mail Server + ClamAV SpamAssassin
- Dovecot POP3/IMAP Server
- MariaDB Database Server
- Vsftpd FTP Server
- Softaculous Plugin
- Iptables Firewall + Fail2Ban
Look for a brief overview of each of these at the end of the article.
Step 4: Enter the admin email address you want to connect to your Vesta Installation.
Step 5: Press enter for the FQDN hostname question.
Step 6: Wait about 15 minutes for the installation to complete.
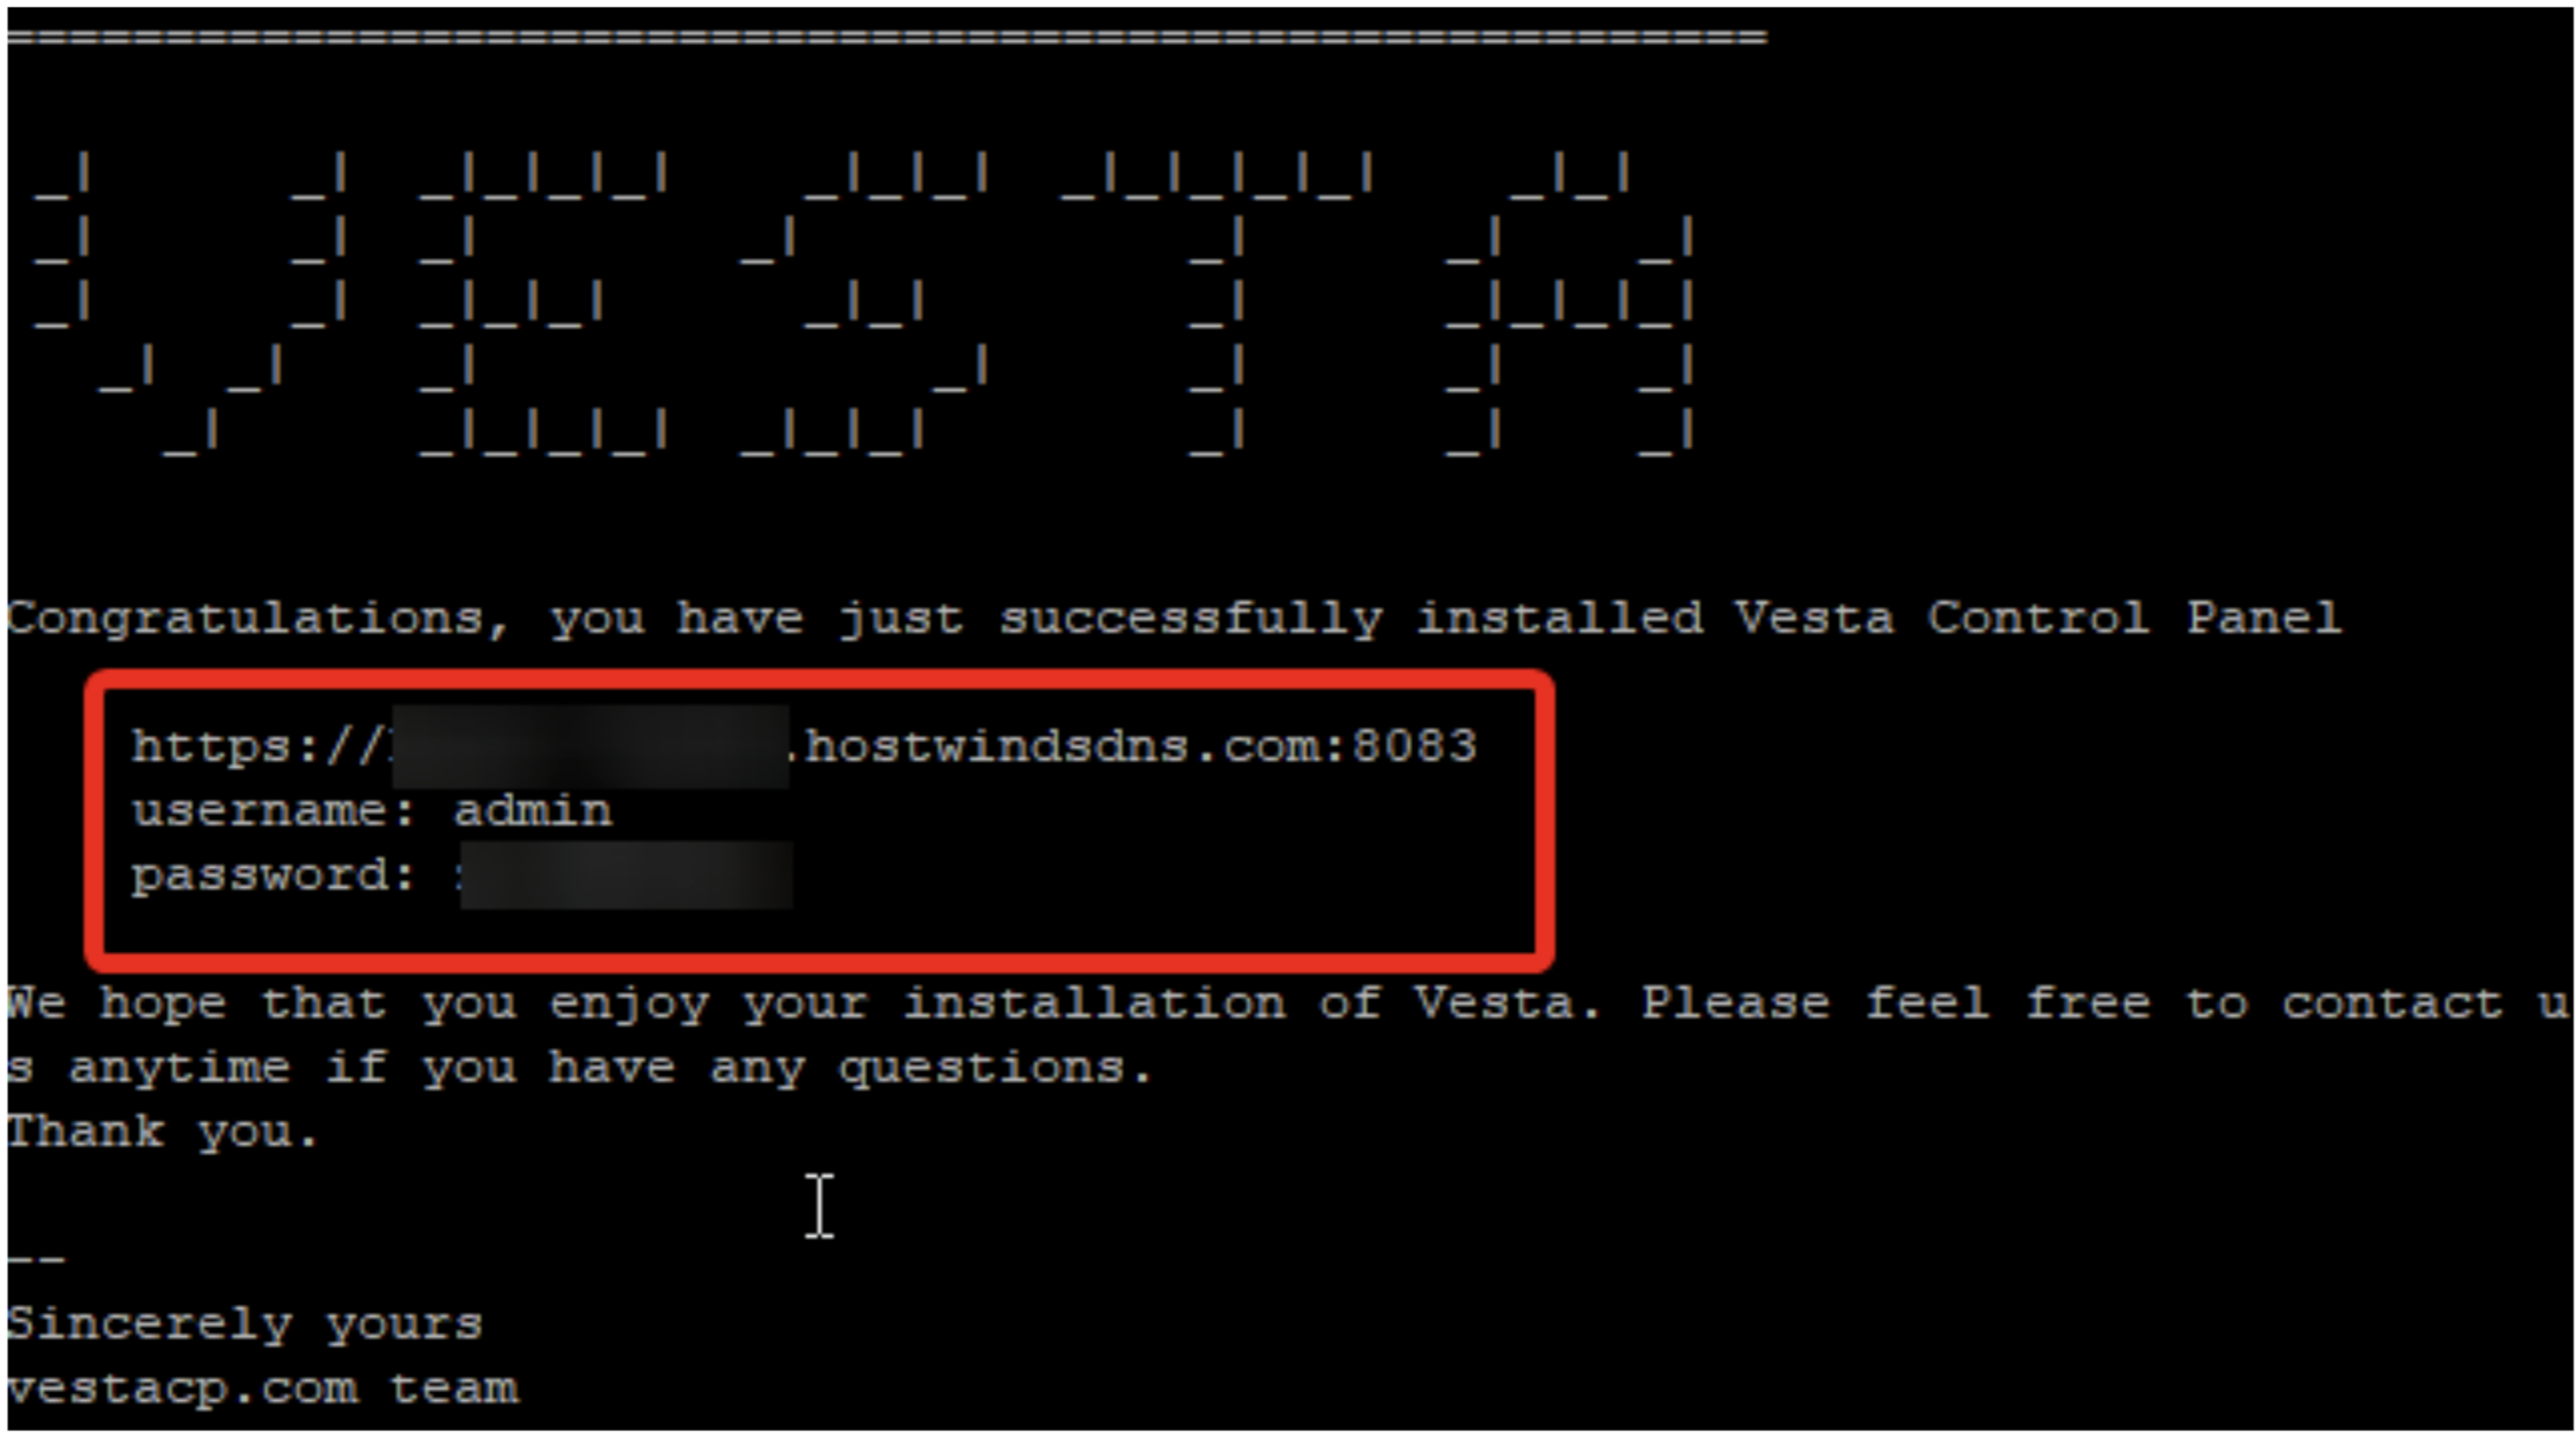
Step 7: Once finished, Vesta will provide the URL, username, and password to log in and manage your new VestaCP installation.

Step 8: Input the provided URL into your browser and enter the provided username and password in the respective fields. Doing so will you log in, and you will be ready to go in VestCP!
Written by Hostwinds Team / July 30, 2021
