Hostwinds Tutorials
Search results for:
Table of Contents
How to create a custom landing page using HTML and CSS
Tags: Web Site
This guide will learn how to create the basic 'under construction landing page using HTML and CSS.
To create a landing page, you will need to have a text editor, either the one provided in your cPanel file manager, Notepad++, or any text editor of your choice will work fine to follow along in this guide. If you are using a control panel such as cPanel, you will add these files to either your public_html directory or the document root for your domain name. If you are not using a control panel, you would most likely add these files to your /var/www/html, although the location of your domain's document root may vary.
Creating Your Site File
Let's start by creating an index.html file and open it in your text editor.
Why index?
The way Apache is set up, in your domain folder (or public_html), it reads your DirectoryIndex such as index.htm, index.html, or index.php if these files exist and serve this file as the homepage of your folder. If there is not one of these files, then it will show an index listing. You can change your directory index through your .htaccess file.
Your HTML is essentially the structure of your website page, so you will need to make sure it's set up properly.
For this example, you will need to identify the HTML script, header, and body. You can do this by using the following "tags"
<html>
<head></head>
<body></body>
</html>
Tags are how we identify different elements in our HTML document and will generally come in pairs. Most tags will have a start\<> and an end\, some tags will not have the second tag and will end with a /> this is called an 'empty element', mainly seen on links and images.
The head Tag
This is where you store the data that is not content, such as site metadata, the document title, character set, inline styles, script links, and other meta information. We will use two different tags in our head section:
title tag - This tag will change what is displayed in the tab
link tag - this is where you would attach any external style or scripts. We will be using this to add a stylesheet to our website
The body Tag
This is where your site content will go. If we wanted to, we would be able to add tests directly. For example, if we add "Hello World!" in our HTML, it will look like this:
<!DOCTYPE html>
<HTML>
<head></head>
<body>Hello World!!</body>
</HTML>
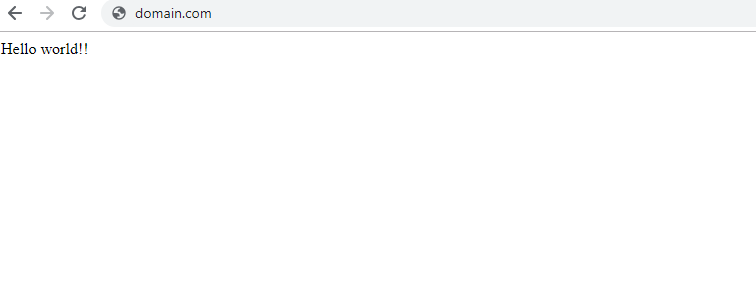
Here is what the web page will look like after adding this code and visiting your domain name with your browser:

Next, let's connect the stylesheet in your HTML. As we mentioned above, you can attach a stylesheet by adding linking your stylesheet to the head of your HTML document. After you are done, it should look like this:
<!DOCTYPE html>
<html>
<head>
<link rel="stylesheet" href="css.css"/>
</head>
<body>
 </body>
</html>
Add Containers And Content
To help better organize your content, you can use tags to specify different objects such as containers, images, headers, etc. you will call these different tags later in your stylesheet.
For this example, I will be using a div container and the \
and \
tags.
<!DOCTYPE html>
<html>
<head>
    <title>Coming Soon</title>
    <link rel="stylesheet" href="css.css"/>
</head>
<body>

<div>
    <h1>This Site is Under Construction</h1>
        <p>Content Coming December 2018</p>

</div>

</body>
</html>
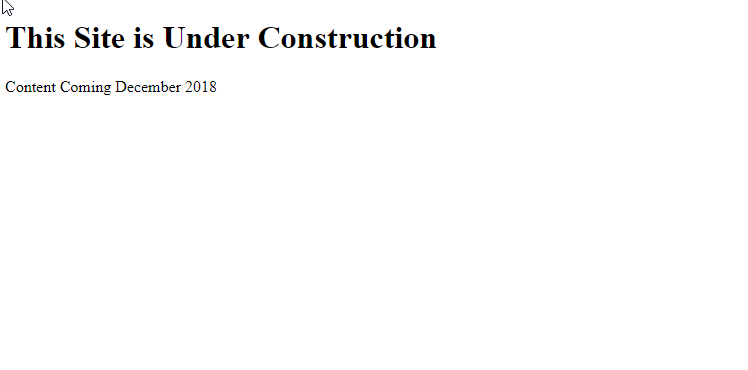
Here is what the web page will look like before we add in the stylesheet:

Adding Style to Your Site
Create and edit your stylesheet 'css.css'
Now, let's create a .css file. This should match the file name you above, so our example is css.css. You can call the different elements that you labeled via tags in your HTML document in your stylesheet.
In this example, we have 4 different elements: body, div, h1, and p. Below, we can see how you can use these tags to change the background, center it, and change the sizing of the text. We will also demonstrate how to add a text shadow to help with clarity.
Here is our CSS.css file:
body {

    background-image:url('background-background-image-blue-sky-1054218.jpg');
    background-size: 100%, 100%;

}

div {
    font-family: verdana;
    color:black;
    text-align: center;
    margin-top:250px;

}

h1{

    text-align:center;
    font-size: 75px;
    margin:0px;
    padding:0px;
    text-shadow: 2px 1px 1px grey;
}
p{

    font-size: 40px;
    text-shadow: 1px 1px 3px lightgrey;
}
There are a lot of different attributes you can add to your stylesheet. In this article, we just covered a few basic options.
Many different properties require a slightly different structure depending on what it is changing.
Test your site
Now you can check out your new landing page! If you haven't already pointed your domain to your hosting, you can use a testing site such as hosts.cx or your Dedicated IP address to view your site.
Written by Hostwinds Team / November 24, 2018
