Hostwinds Tutorials
Search results for:
Table of Contents
How to Change Your Hostname in WHM
WHM provides you the ability to change the local hostname for the server, letting you choose what name is to be associated with the server as a whole.
Change Hostname
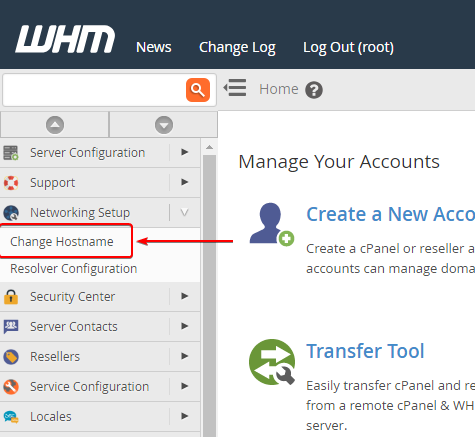
To change the hostname, navigate to the Change Hostname page under the Networking Setup of the left sidebar, or search for Change Hostname in the search box.

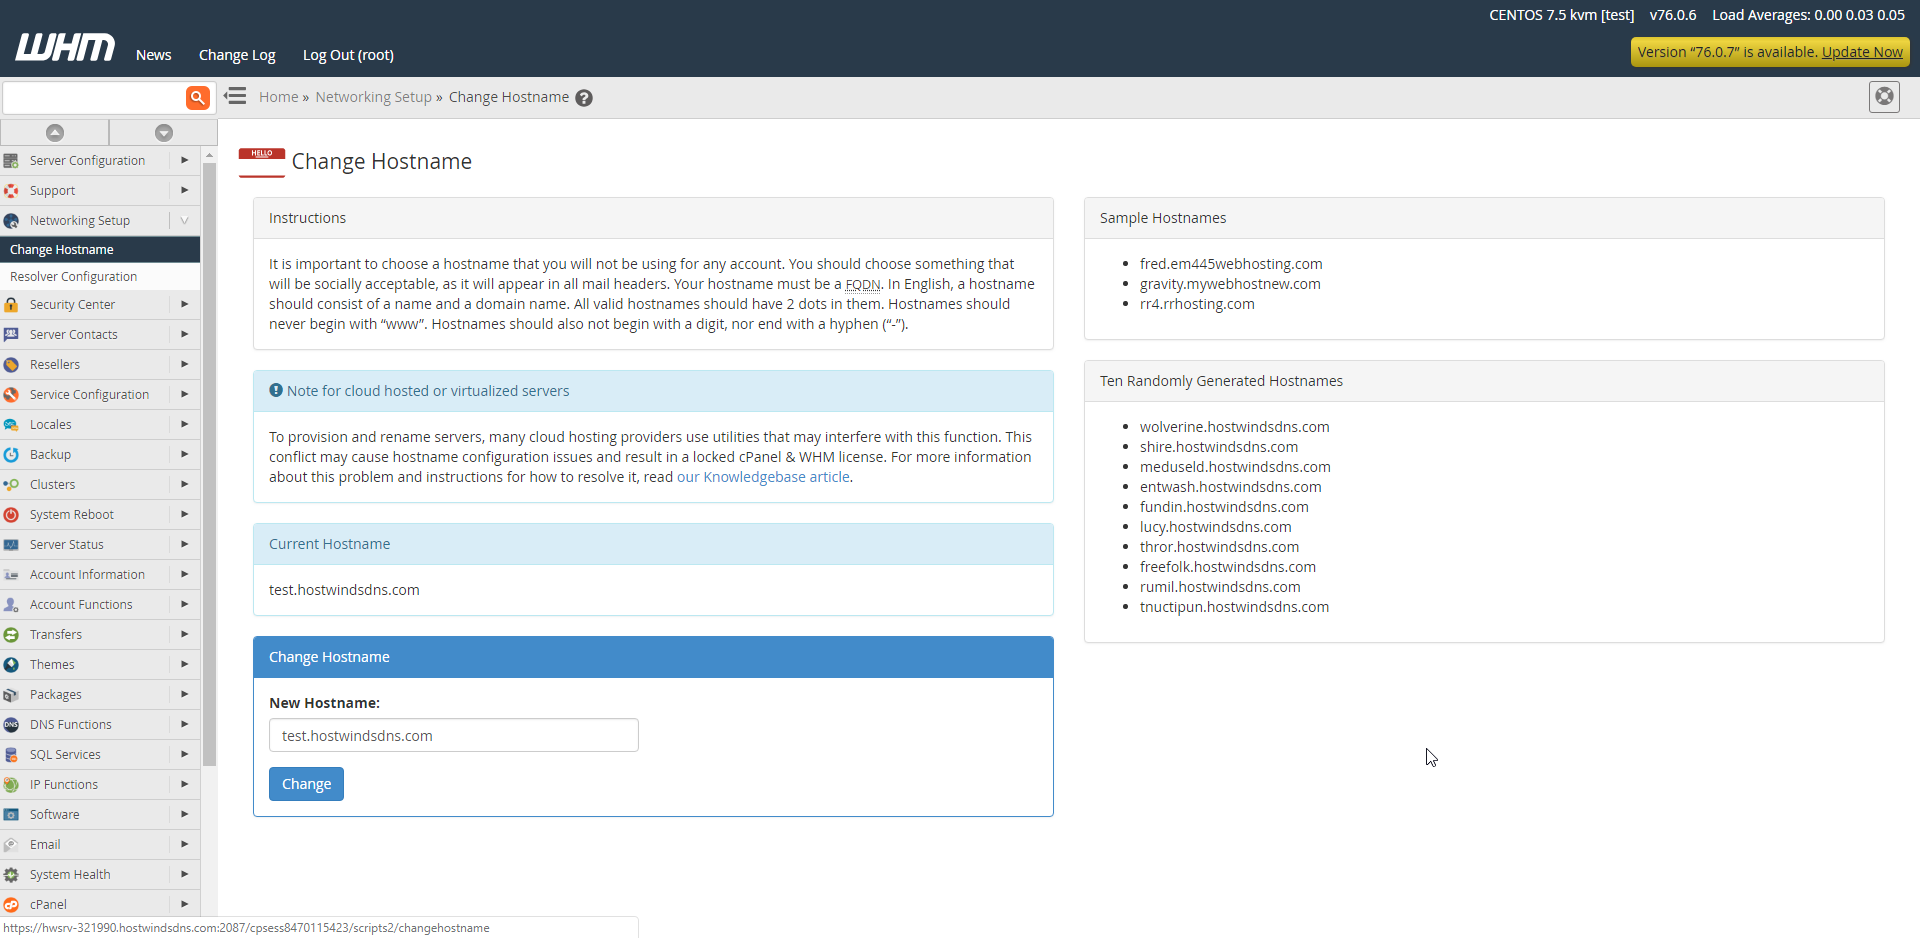
On this page, you will be presented with your current hostname, some information about hostnames, the requirements for whatever hostname you try to set, and some sample and random hostname examples.
By default, the hostname set in WHM will be the one we designated for your server. For VPSs, this should be something like hwsrv-123456.hostwindsdns.com.

As described on this page, the guidelines for choosing a hostname are as follows:
- First: Keep it socially acceptable, as it will appear in email headers
- Second: It must be a Fully Qualified Domain Name
- Third: It should consist of a name and domain name in English, similar to a subdomain
- Fourth: It must contain two dots (".") in them, similar to a subdomain
- Fifth: It should not begin with "www" or a digit
- Sixth: It should not end in a hyphen ("-")
Changing the Hostname
To change the hostname, type in your new hostname into the textbox in the Change Hostname section of the page and click Change.
You will then be presented by a progress bar:

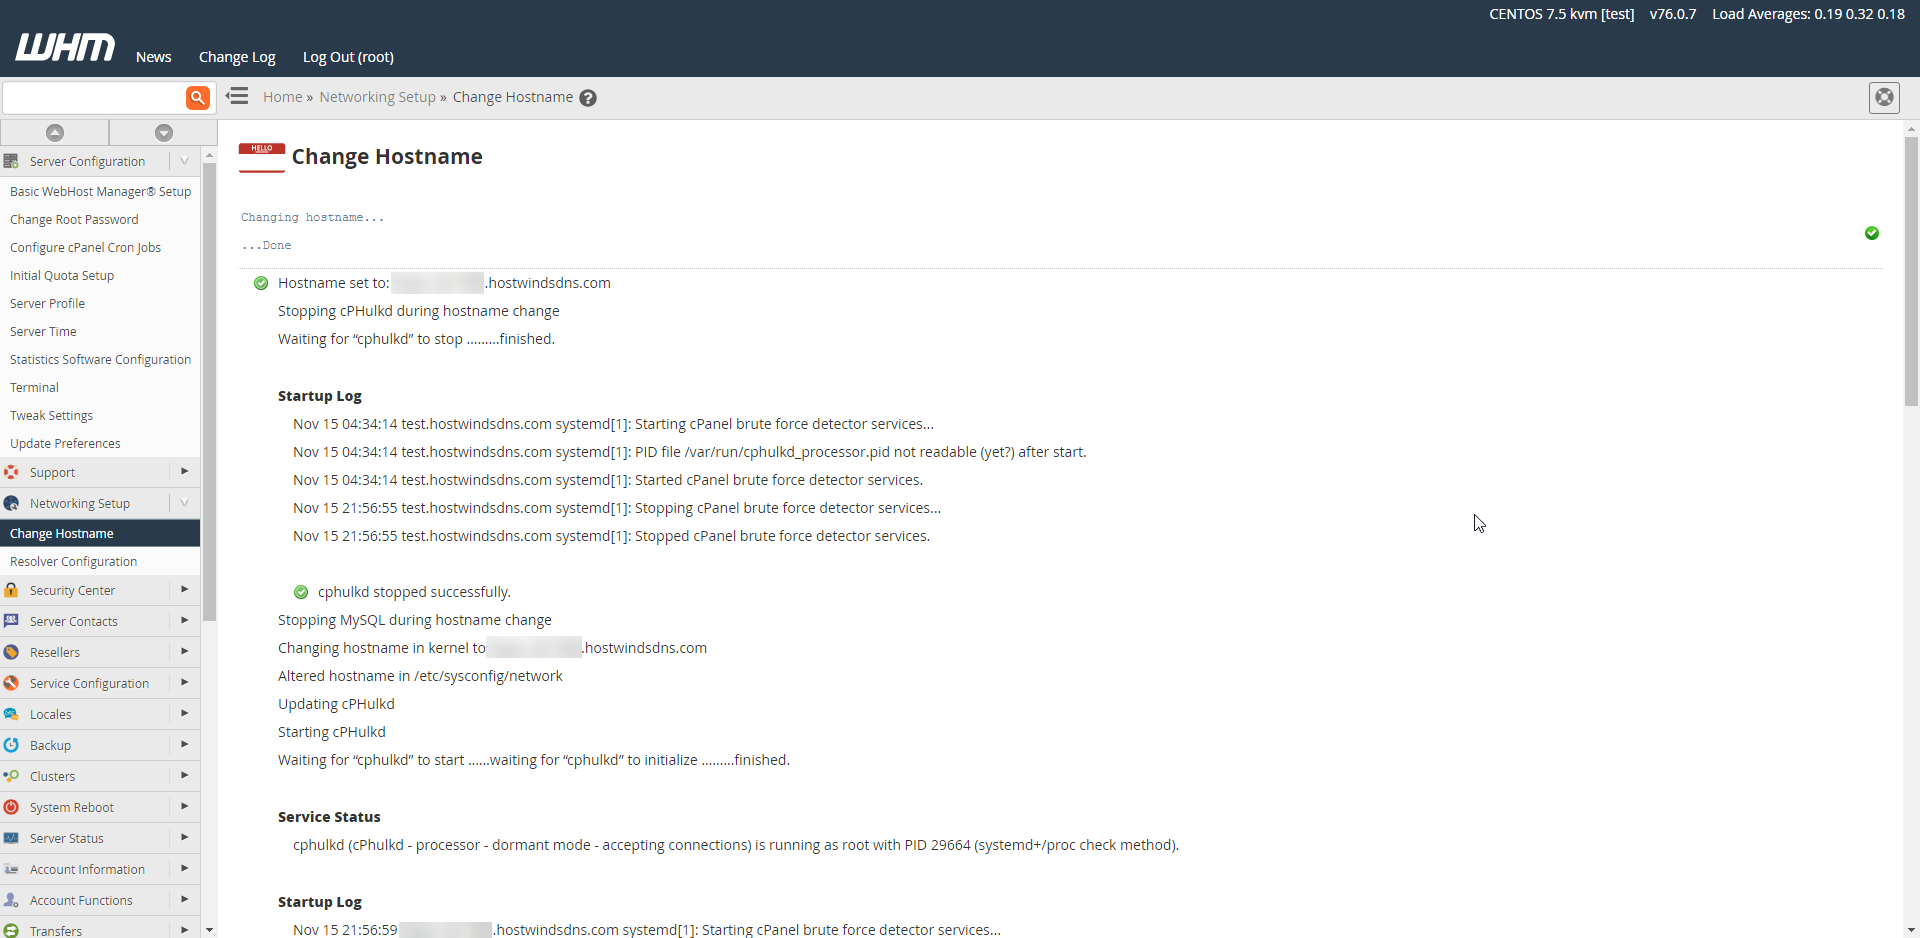
Followed by a success log:

Adding an A Record for the Hostname
At the bottom of the success log page, WHM suggests to you to create an A record for the hostname so that it can be reached over the internet:

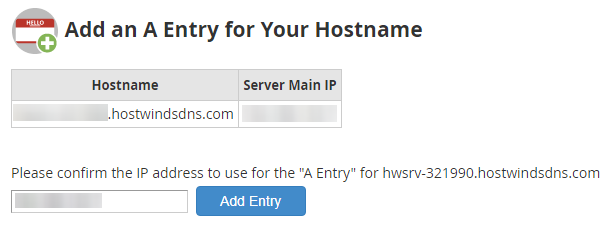
Clicking the Add an A entry for your hostname button will take you to the following page:

Simply verifying the IP in the textbox is the correct IP for your server, and clicking Add Entry will set the A record for your hostname.
Written by Hostwinds Team / November 16, 2018
