Hostwinds Tutorials
Search results for:
Table of Contents
How Do I Add A DNS Zone In WHM?
How to Add a DNS Zone in WHM
How Do I Add A DNS Zone In WHM?
Add a DNS zone on your server through this feature. By setting up DNS records, you create direction for the traffic flow to the right location.
How Do I Add A DNS Zone In WHM?
You can create a DNS zone by following this guide:
Step 1. Login to your WHM account
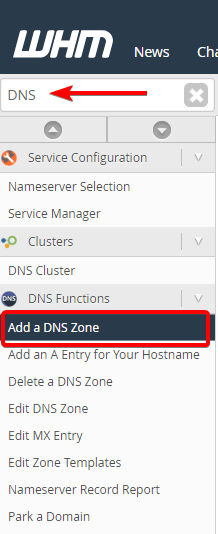
Step 2. Head to Home > DNS Functions > Add a DNS Zones (You can also locate this by searching for "DNS" in the search bar).

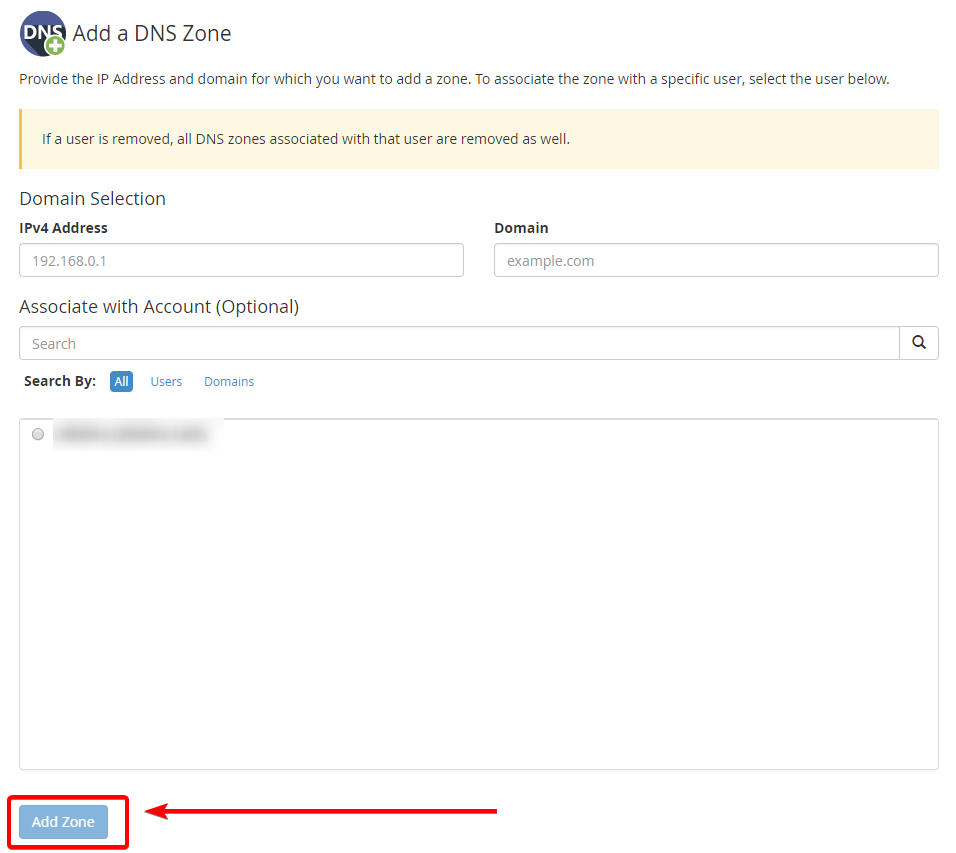
Step 3. Fill out the 'Domain Information' section with an IP Address for the A record and the domain attached to it.
Step 4. Click the Add Zone button.

You can now view the results of your added domain in the Domain Owner Information section.
Written by Hostwinds Team / December 13, 2016
