Hostwinds Tutorials
Search results for:
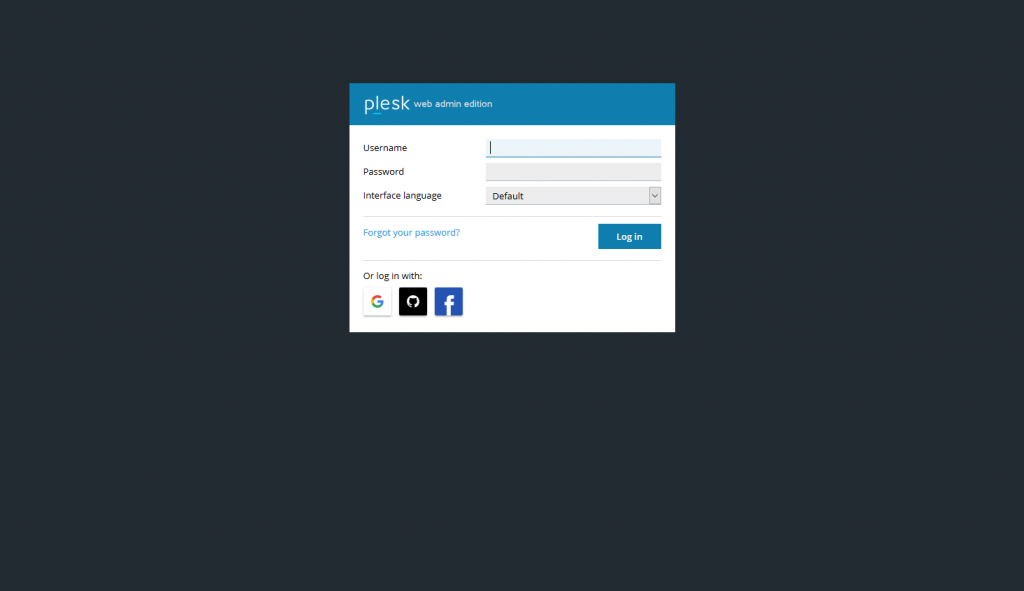
Out of the many control panels available today, Plesk is one of the more popular ones used (up there with cPanel / WHM and Virtualmin). A big advantage of Plesk is that it was built to work on both Windows Operating Systems and Linux Operating Systems, without sacrificing many if any of the features available. This guide will assist in how you can locate and log in to your Plesk Control Panel after it has been installed.
Prerequisites:
- Hostwinds Cloud VPS or Dedicated Server
- Valid Plesk License
- Administrator or root access to your server
How To Login To Plesk
Step 1: After installing Plesk on your server, there are a few different places to log in. First, if you go to http://IPADDRESS:8880 replacing IPADDRESS with your server's IP, this will allow you to log in. However, it is recommended to go through https://IPADDRESS:8443 for added security.
If you see a warning when accessing the login page through https://, it is recommended to inspect the SSL Certificate, as, by default, the server will have a Self Signed Certificate, which is okay to bypass.

Step 2: Enter the login credentials to access the server. These will be the same login credentials that had been emailed to you after the initial setup of your VPS / Dedicated Servers unless you have changed these.
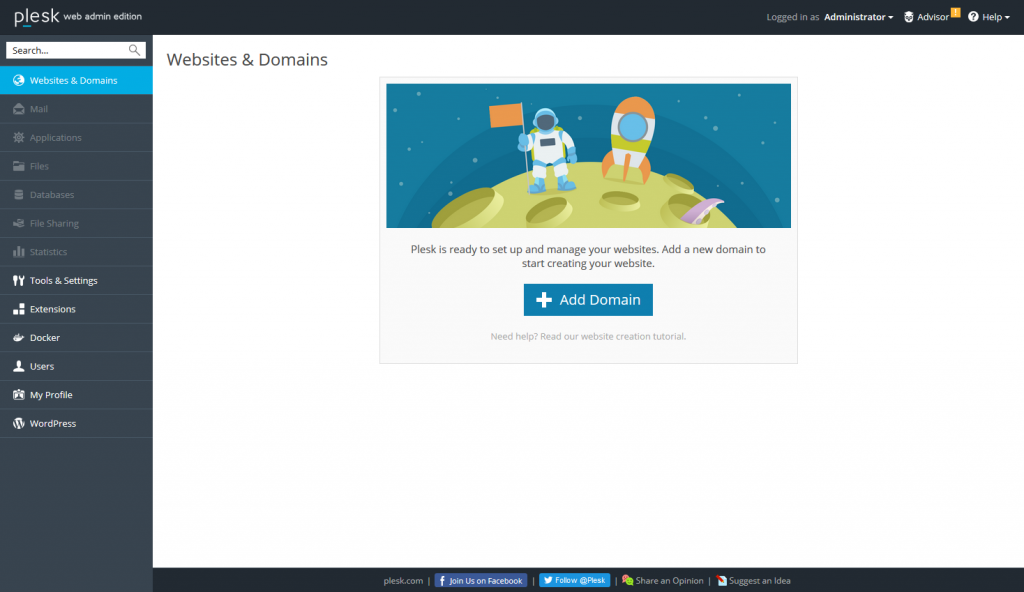
Step 3: While Logged in, you will be able to begin adding sites and making changes to the server to suit your needs.

Written by Hostwinds Team / July 29, 2019
