Hostwinds Tutorials
Search results for:
Table of Contents
Guide To Using EasyApache to Recompile Apache
Tags: Apache
This article is intended for those who operate a VPS or dedicated server with a purchased cPanel/WHM license.
For more information about cPanel and WHM, please review our article cPanel and WHM Overview
What Is EasyApache?
EasyApache is a script executed by the command line that lets you update and reconfigure your Apache server through WHM. This guide will show you how to use EasyApache to recompile Apache.
How Do I Use EasyApache To Recompile Apache?
Follow this guide to use EasyApache to recompile Apache.
Step 1: Log in to WHM for the new server you're moving to (details to log into your WHM are provided in a welcome email upon purchase)
Step 2: Head to The EasyApache tool, Home > Search > type "EasyApache"
Step 3: Click on EasyApache (3 or 4) in the search results
EasyApache 3 will NOT be available if EasyApache 4 is in effect. You may need to uninstall EasyApache 4 to install EasyApache 3.
Step 4: Click on the gear icon next to the profile you wish to edit
Default settings work well. Only change if you're an expert and know what you want

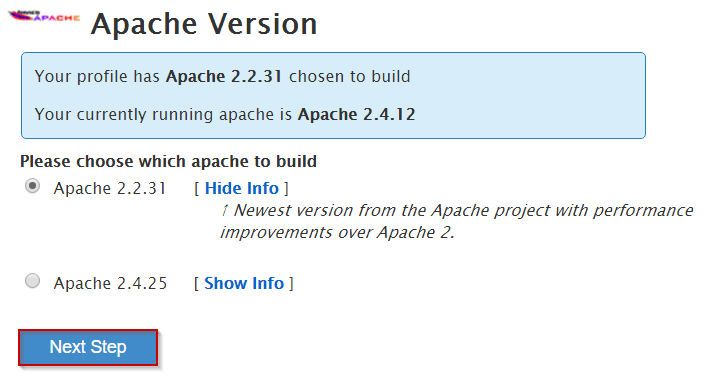
Step 5: Choose your version of Apache for the server, then click Next Step

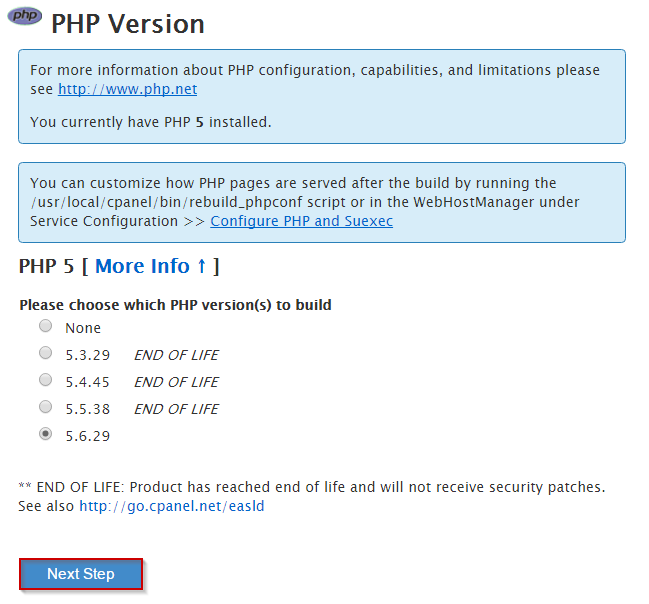
Step 6: Choose your version of PHP and click Next Step.

Step 7: Choose any additional modules that you want to add
7a: You can select the Exhaustive Options List before building
Step 8: Click the Save and Build button

Written by Hostwinds Team / December 13, 2016
