Hostwinds Tutorials
Search results for:
Table of Contents
How to Create Accounts in DirectAdmin
Tags: Reseller
DirectAdmin Web Control Panel makes it easy to create various accounts from the Admin or Reseller access level. Admins have full access to the server and can create other Admin or Reseller accounts in DirectAdmin. In addition, resellers can create User accounts. The guide below will walk you through creating these different accounts.
Create Accounts as Admin
Step 1: Log in to DirectAdmin as an admin user at http://YOUR-IP:2222.
Step 2: Hover over Account Manager and select Create Administrator.
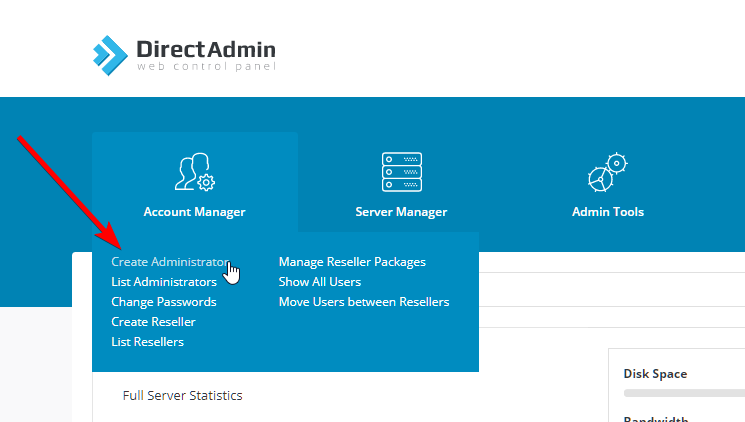
Step 3: Enter a username, email, and password for this admin, then click Create.
Step 4: You will then be re-directed to the List Administrators page, where you can manage or log in as an administrator.

Create Reseller Accounts as Admin
Step 1: Log in to DirectAdmin as an admin user at http://YOUR-IP:2222.
Step 2: Before creating a Reseller account, verify whether a Reseller Package should be created. If none exist or you wish to create a different package, hover over Account Manager and select Manage Reseller Packages. (Skip this step if you have a package that you wish to use.)
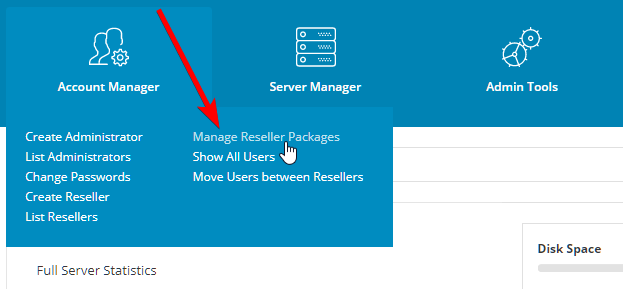
*Note: You may import reseller packages from another DirectAdmin account on this page.

Step 3 (if creating package): Click the blue Create button. You can now disable or set quotas for bandwidth, disk space, inodes, domains, email and FTP accounts, SSH and SSL access, and much more. Then name the package and click the green Create button.
Step 4: Hover over Account Manager and select Create Reseller.
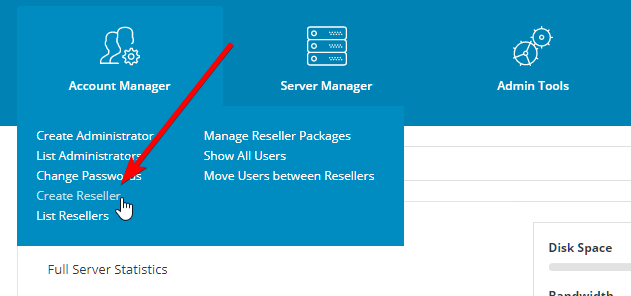
Step 5: Enter a username, email, password, and domain for this reseller. Select a package from the dropdown menu. Then select whether to assign a dedicated IP (Assigned) or assign a shared IP from the server's or the reseller's pool (Shared - Server, Shared - Reseller's IP). Then click Create.
Step 6: You will then be re-directed to the List Resellers page, where you can manage or log in as a reseller.

Create User Accounts as Reseller
Step 1: Log in to DirectAdmin as a reseller user at http://YOUR-IP:2222, OR login as an admin, then select the Reseller Access Level from the top of the page.
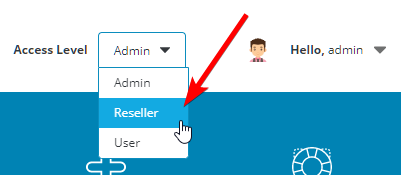
Step 2: Before creating a User account, verify whether a User Package should be created. If none exist or you wish to create a different package, hover over Account Manager and select Manage User Packages. (Skip this step if you have a package that you wish to use.)
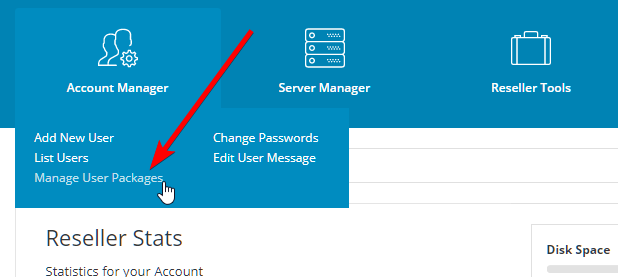
*Note: You may import user packages from another DirectAdmin account on this page.

Step 3 (if creating package): Click the blue Add Package button. You can now disable or set quotas for bandwidth, disk space, inodes, domains, email and FTP accounts, DNS control, SSL access, and much more. Then select a Skin, Language, and Package Name for the package and click the green Save button.
Step 4: Hover over Account Manager and select Add New User.
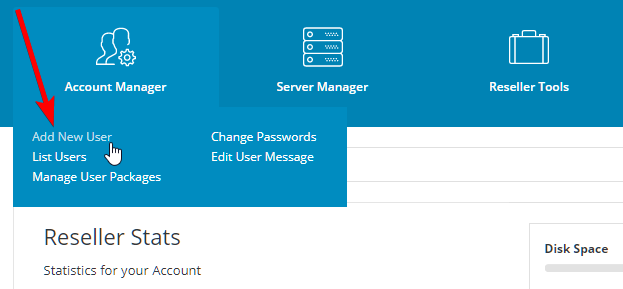
Step 5: Enter a username, email, password, and domain for this user. Select a package from the dropdown menu. Then select a specific or random, shared IP. Available IP options will differ based on the reseller creating this User Account_._ Lastly, click Submit.
Step 6: You will then be re-directed to the List Users page, where you can manage or log in as a user.

Written by Hostwinds Team / June 5, 2021
