Hostwinds Tutorials
Search results for:
Table of Contents
cPanel: Adding Email To iPhone
Tags: cPanel
Steps To Add Your cPanel Webmail To Your iPhone
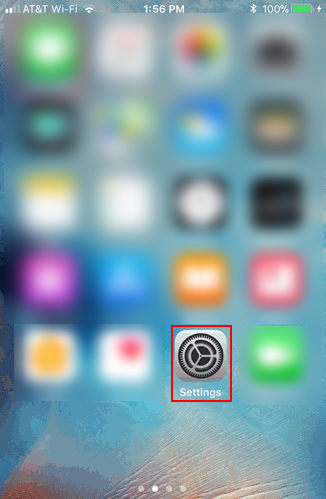
Step 1: Locate Settings on your iPhone
Step 2: Find and select Accounts & Passwords.
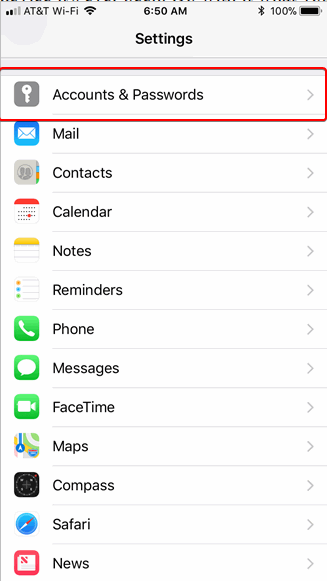
Some iPhone versions may not have Account & Passwords as an option under settings. If your version does not, try locating "Mail, Contacts, Calendars" instead. Either option should take you to the next step.
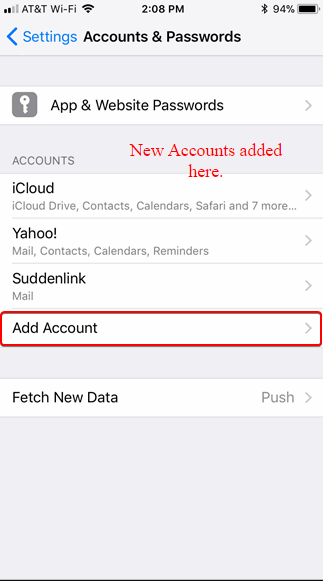
Step 3: Select Add Account
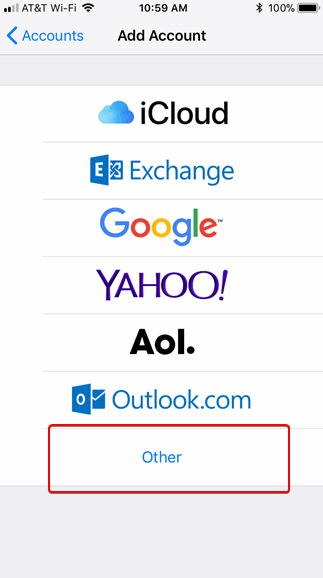
Step 4: Select Other from the available options
Step 5: Select Add Mail Account
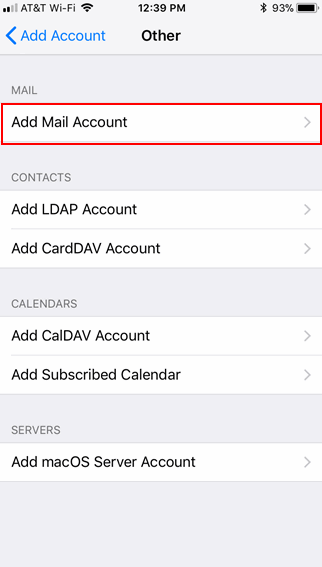
Step 6: Type in your name, domain email, password, and description (optional). This information will be your Webmail email and password you created from cPanel > Email Accounts. Select Next when done.
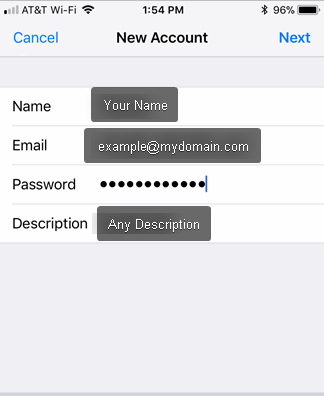
See How Do I Add Email Accounts In cPanel? If you do not currently have an email in your cPanel created.
Step 7: Make sure IMAP is selected and proceed with filling out the required information. Incoming Mail Server and Outgoing Mail Server should have your Hostname (typically this is mail.domainname.com), User Name (typically your mail address, but can be found from cPanel > Email Accounts > Setup Mail Client), and Password (the Webmail password you set up when creating your email). Select Next when done.
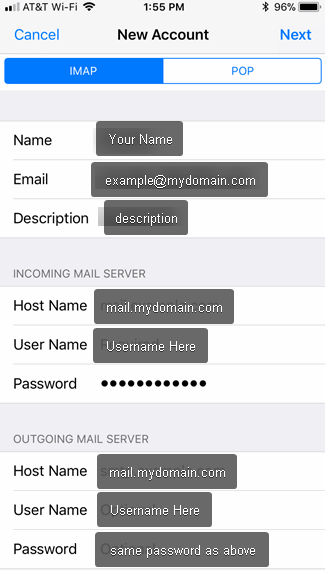
Note: If your device fails at this point, ensure you have internet connectivity, and the information is 100% correct. Any incorrect information during the set-up process will fail.
Step 8: If verification is successful after Step 7, you should see this next screen below. Make sure Notes is turned off and click Save.
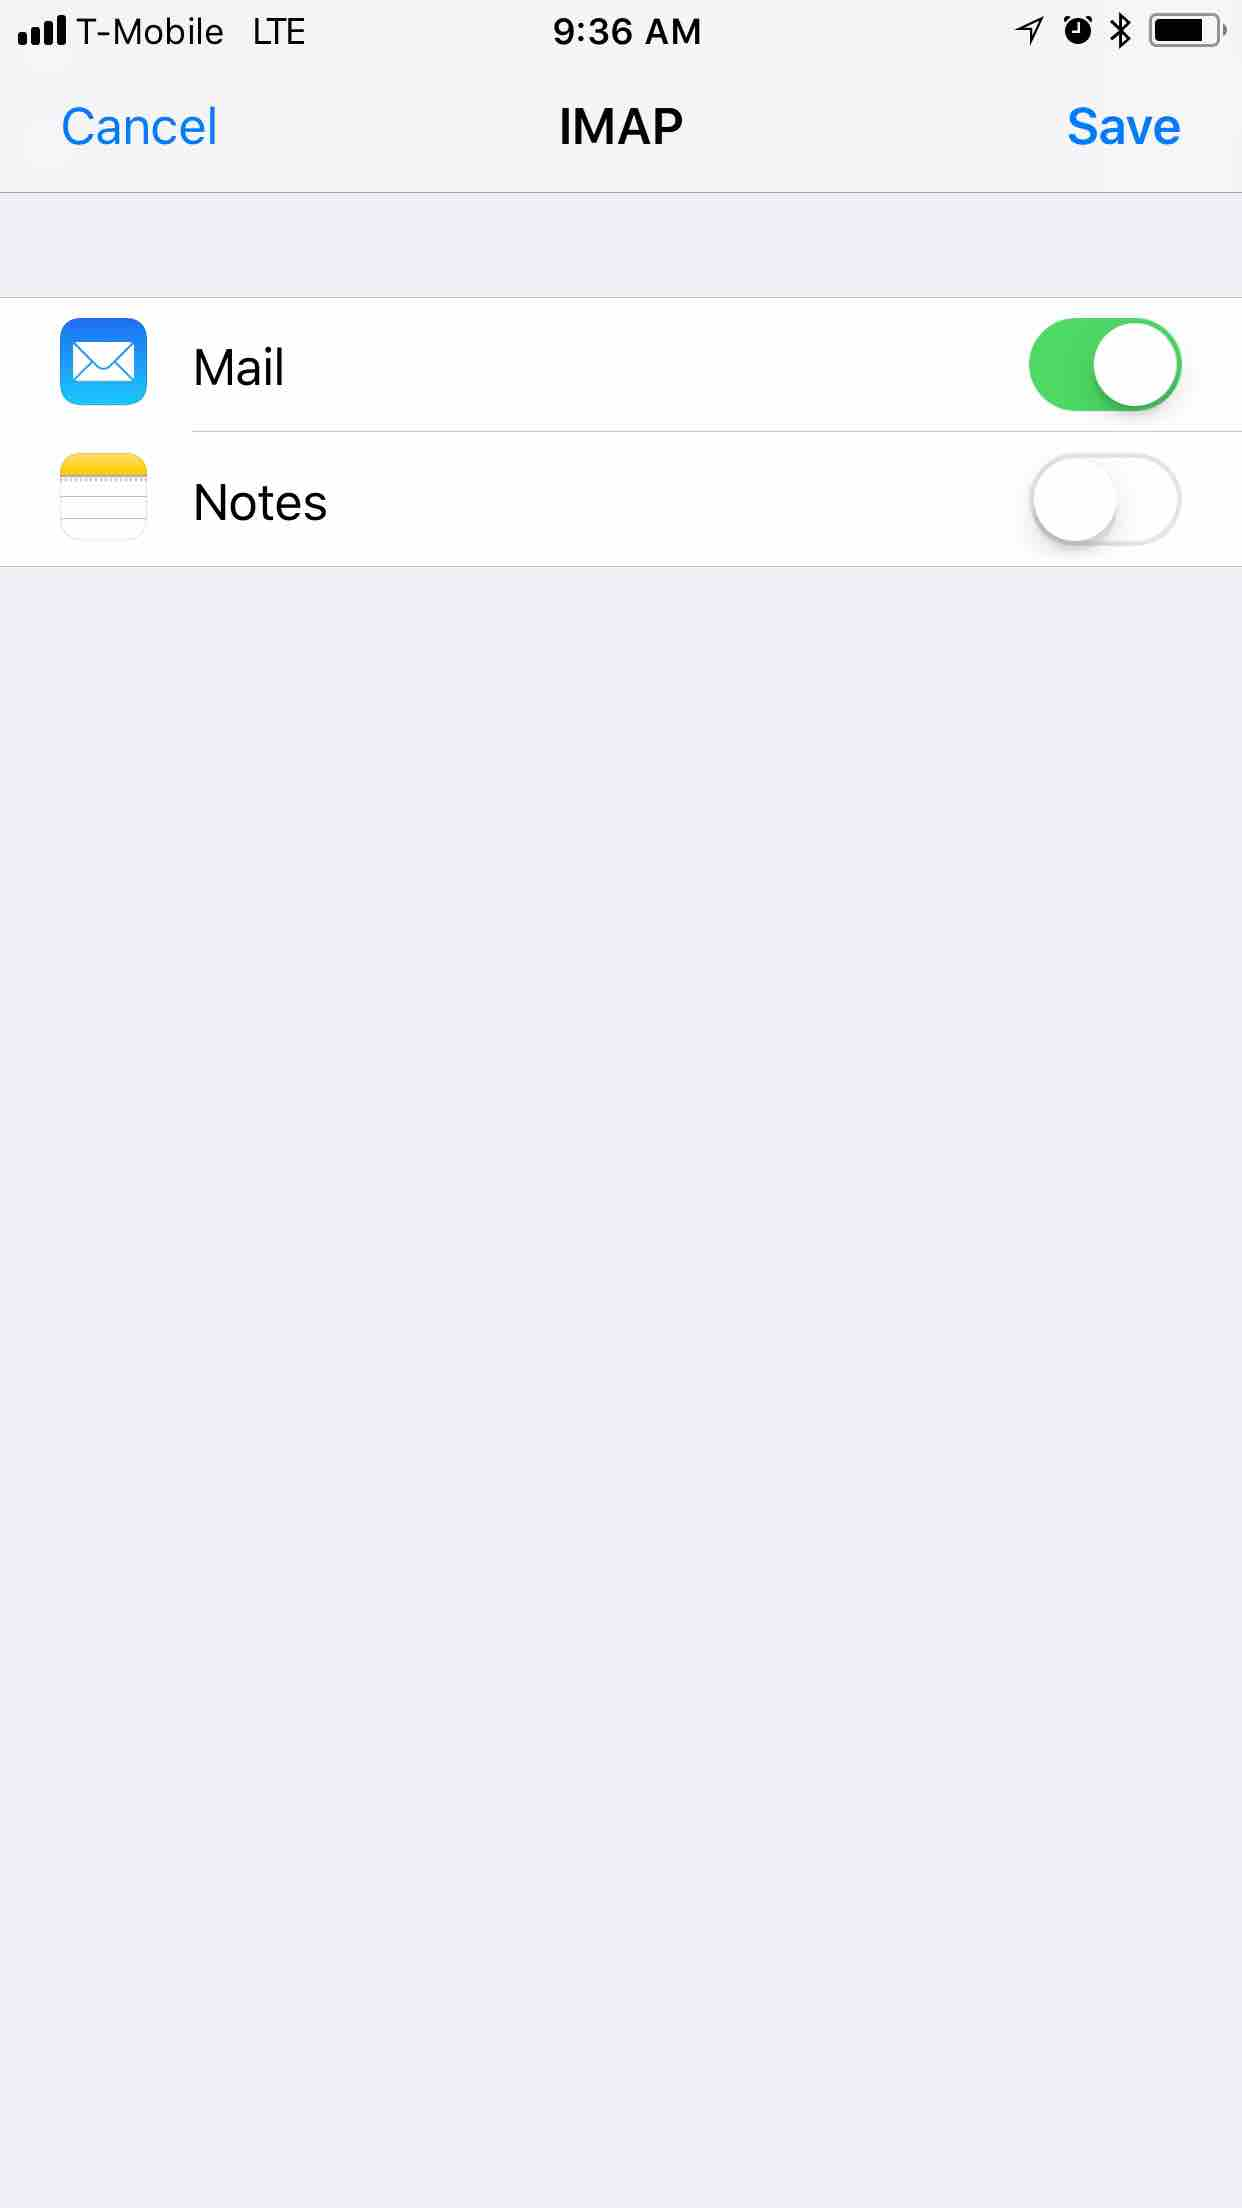
Your Webmail should now be correctly configured and added to your iPhone Mail.
Note: Expect longer delays in receiving mail if you have multiple devices set up to use your Webmail service.
How Do I Delete My Webmail From My iPhone?
Navigate to your iPhone Settings App. Find and select Accounts & Password from the list of options. Select your Webmail account now.
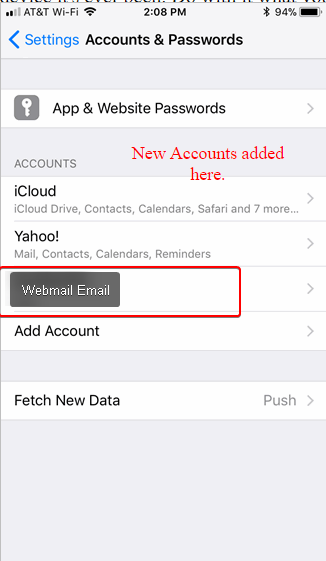
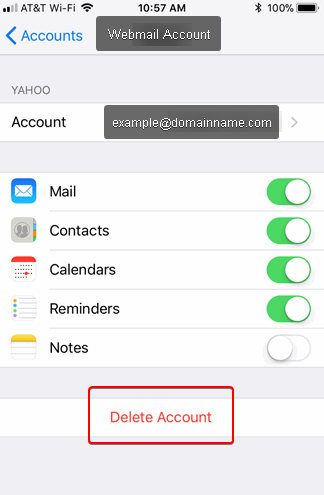
You should see a screen similar to below once you select your Webmail account. To delete the account from your iPhone, click Delete Account.
Written by Hostwinds Team / April 26, 2018
