Hostwinds Tutorials
Search results for:
Table of Contents
Cockpit Overview (CentOS 8)
Tags: CentOS Web Panel
The cockpit is a free and open-source web panel available to install several different Linux-based operating systems to view and manage some server aspects easily.
With the latest release of CentOS, version 8, the Cockpit server and workstation software are pre-installed, and the main software needs to be installed and enabled to use it.
Some of the notable features Cockpit provides are:
- Service Management
- Easily start, stop, restart, etc. all services on your server
- User Management
- Easily add, delete, and manage the users on your server (including their SSH keys)
- Change hostname and join a domain
- Live Resource Metrics and Logging
- View and filter server logs
- Manage network interfaces, firewalls, and view bandwidth usage
- Create diagnostic reports with sosreport
- Check for and run software updates; configure automatic updates
- Terminal access via your web browser
Installing Cockpit
Firstly, you will need to connect to your server via SSH to perform the installation. You can find our SSH guide here.
Next, install the base Cockpit software:
yum install -y cockpit
Then enable its service:
systemctl enable --now cockpit.socket
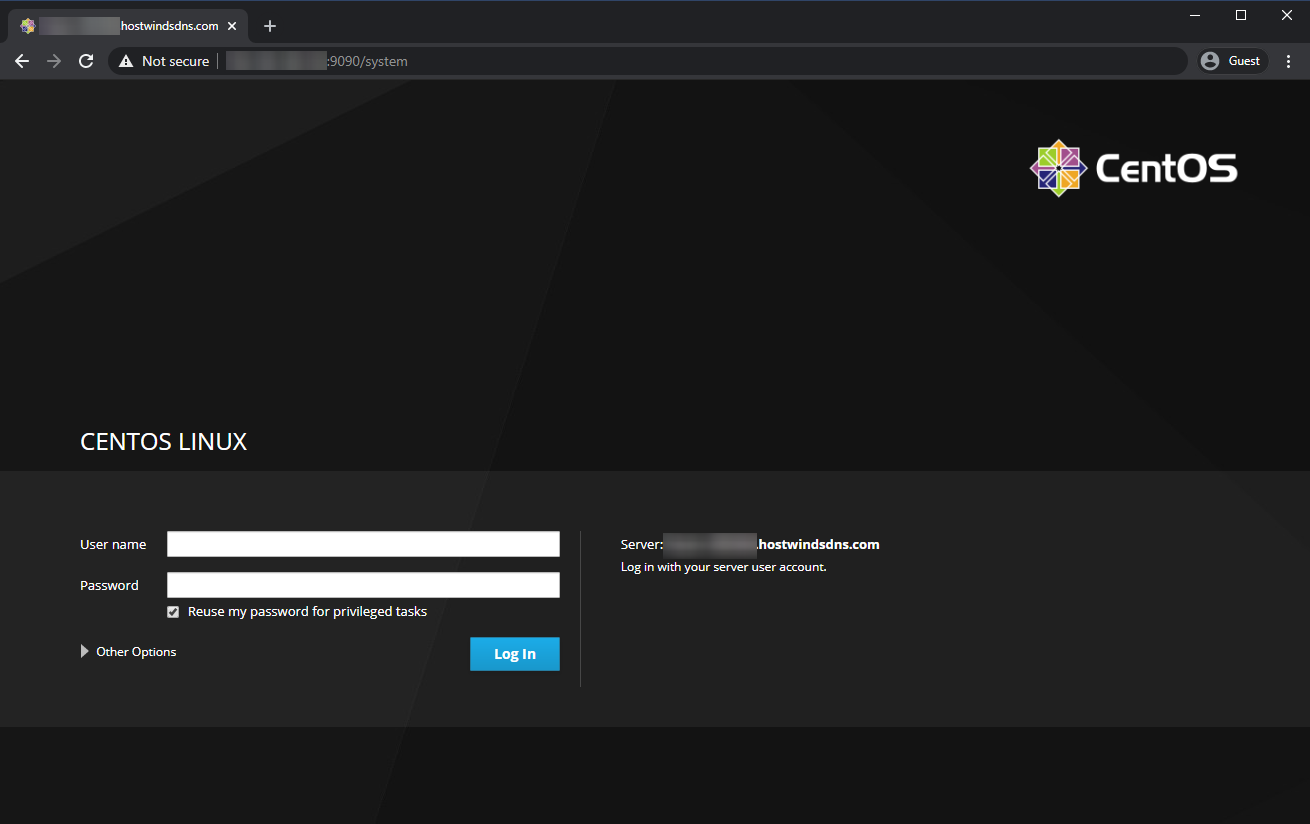
Now Cockpit is installed and running on port 9090. You will now be able to visit it in a web browser by navigating to your server's IP address or hostname, followed by:9090.
Example: http://127.0.0.1:9090
You will be able to log in to Cockpit using any users you have on your server; as such, you will be able to log in with the root user credentials provided in the welcome email for your Hostwinds VPS.
The 'Reuse my password for privileged tasks' checkout on the login screen allows you to enable re-using the password you re-enter to automatically authenticate and perform any actions within Cockpit that would normally prompt you for the password again.
Navigation
There are multiple sections available from the sidebar within the Cockpit interface containing all the different features available. Below are the main features available in each section.
System
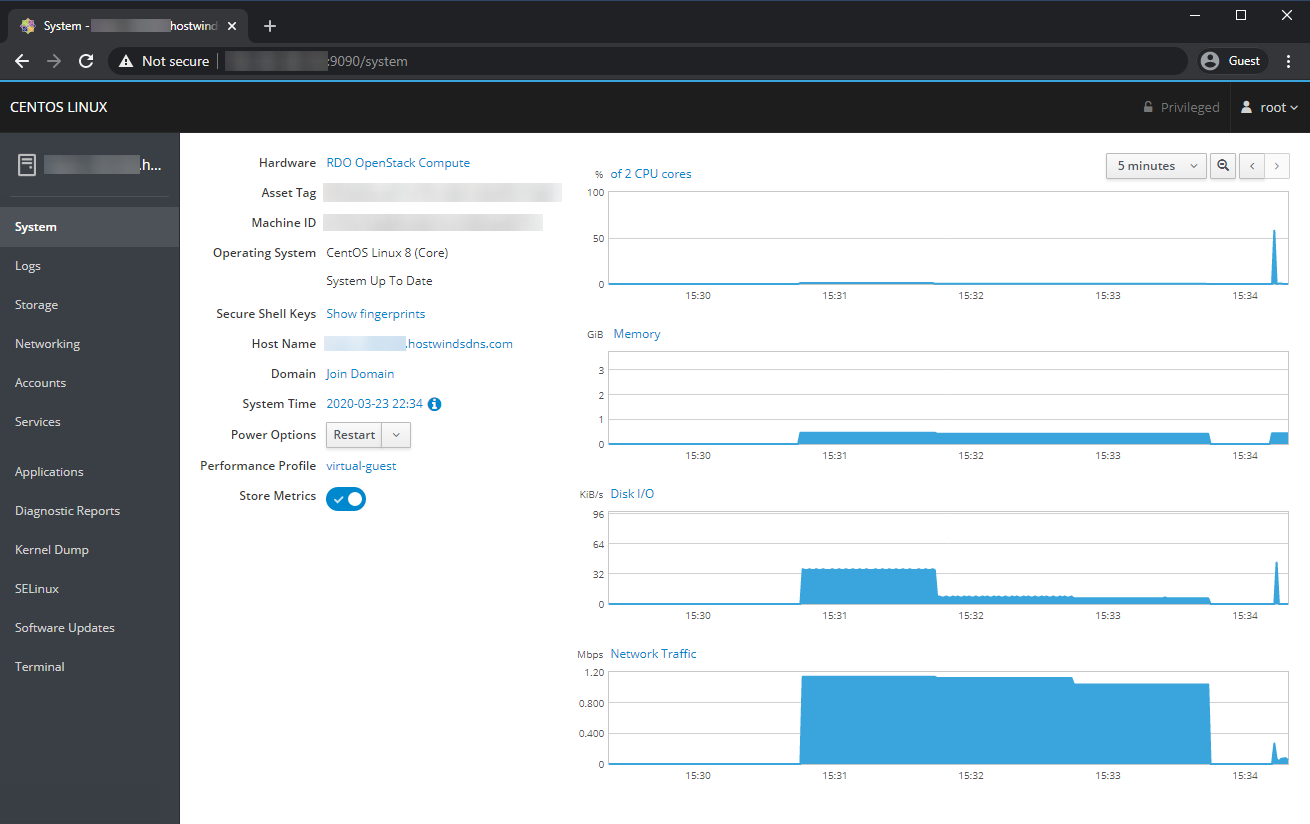
The System section gives you an overview of your resource usage with some live-updated graphs, as well as some quick info about your system's hardware, software, and name configurations.
You can enable logging of the resource usage by enabling the 'Store Metrics' option. Without enabling this option, it will only keep track of resource usage since the last startup.
Logs
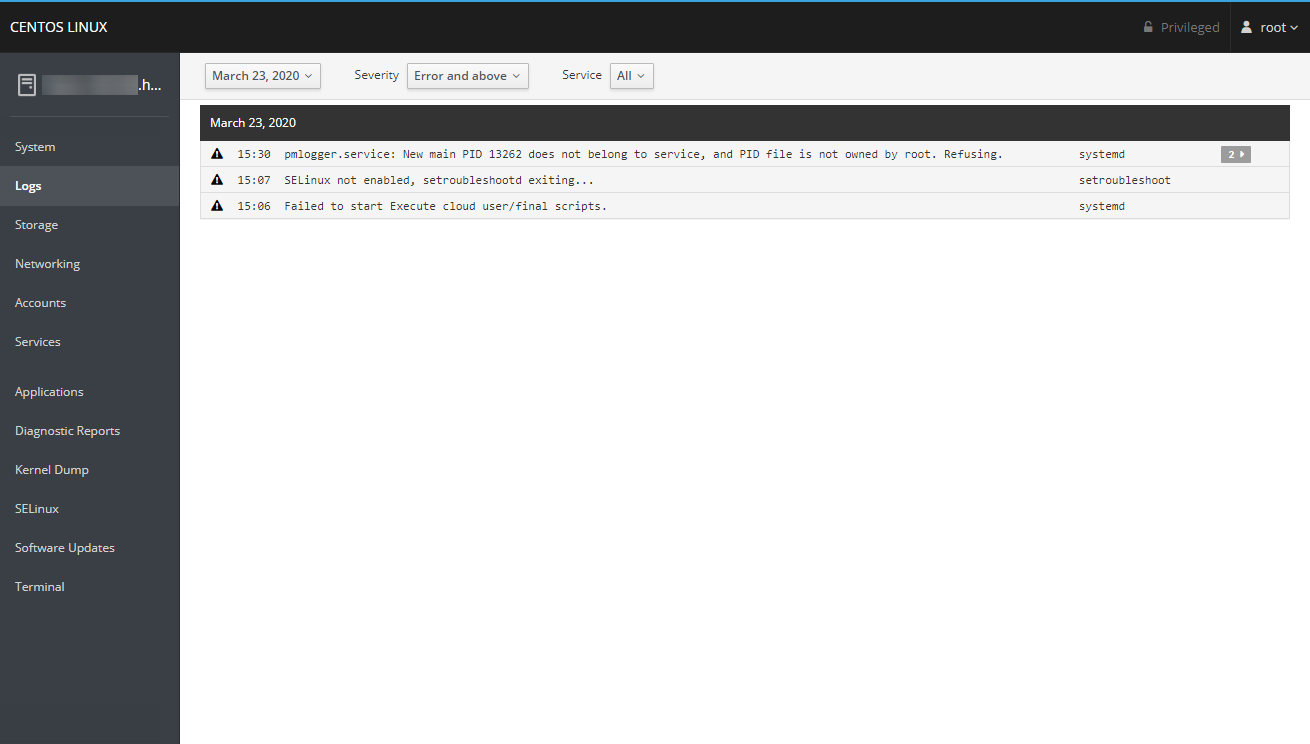
The Logs section displays the latest events from the system logs, for which you can further filter the shown events by logging level (i.e., errors, warnings, verbose) and what service the log events are for.
Networking
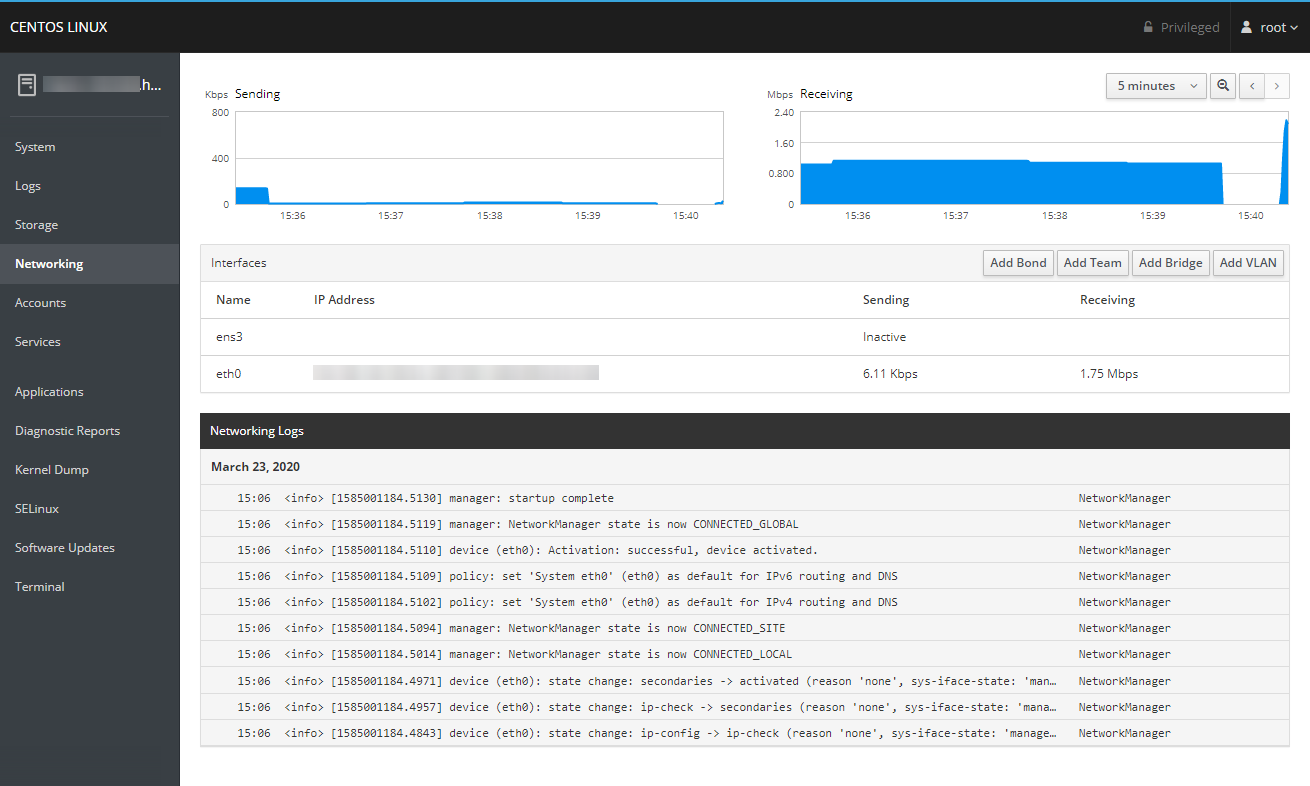
The Networking section will give you some graphs for your bandwidth usage, the latest events from network-related logs, as well as details and the ability to configure any of the network interfaces on your server.
Accounts
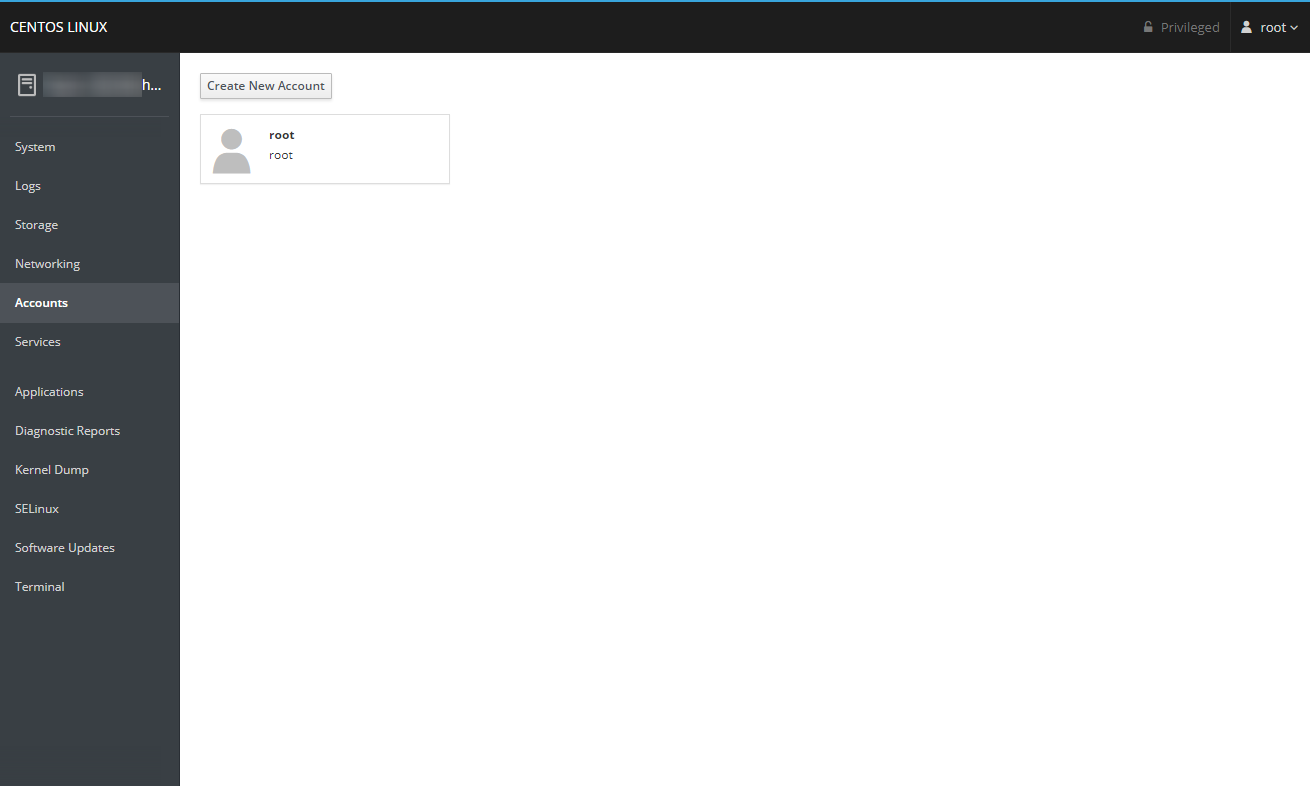
The Accounts section gives you management over the users on your server. You can click the 'Create New Account button to add a new user or click on an existing user to manage them.
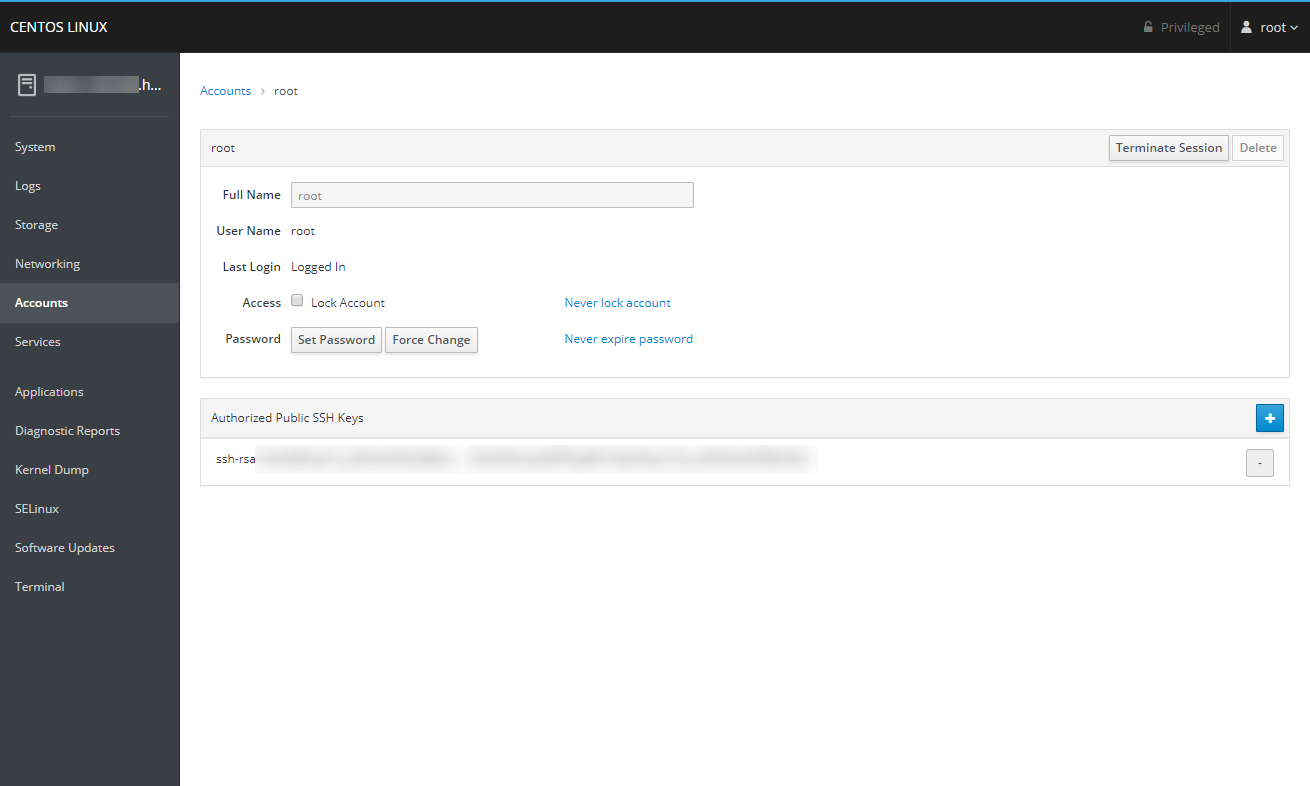
When managing a specific user, you can lock or unlock the account, change their password or force them to change it themselves on their next login. You can also add or remove public keys that the user can use for SSH authentication from this page.
Services
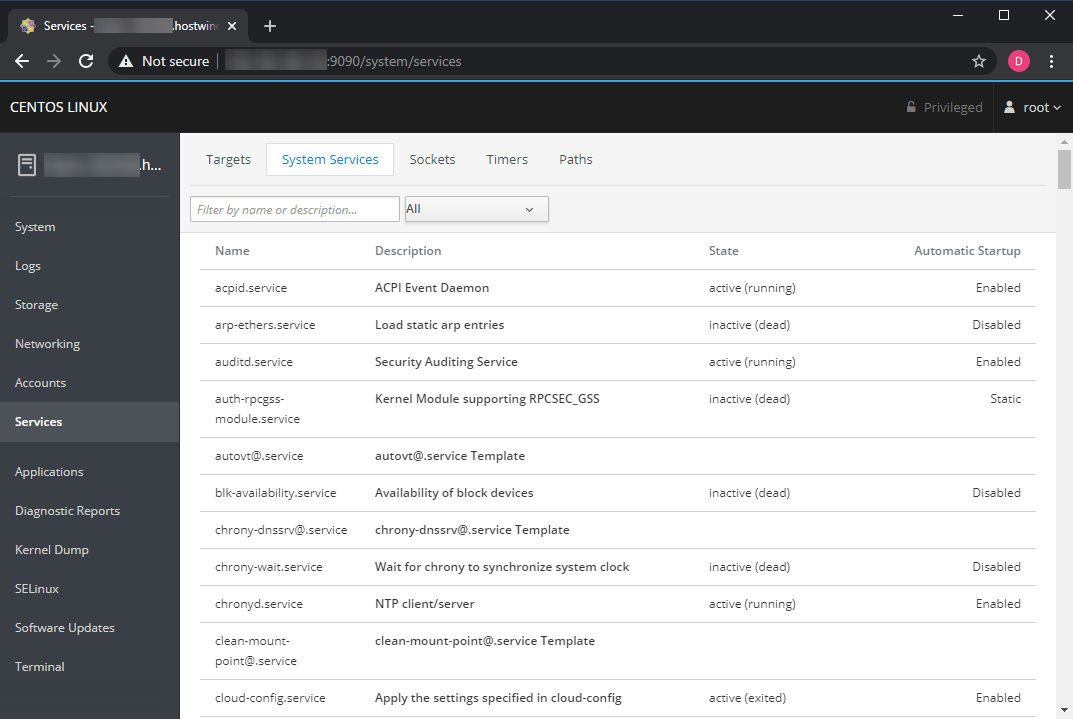
The Services section allows you to view all the targets, services, sockets, timers, and paths available on your server. Clicking on a specific item in any of these lists allows you to start, stop, or restart it, as well as manage its startup behavior.
Applications
The Applications section allows you to view and install additional plugins for Cockpit that provide some additional functionality.
Click the refresh button in the top right to check for new/updated applications, and install one by clicking its 'Install' button.
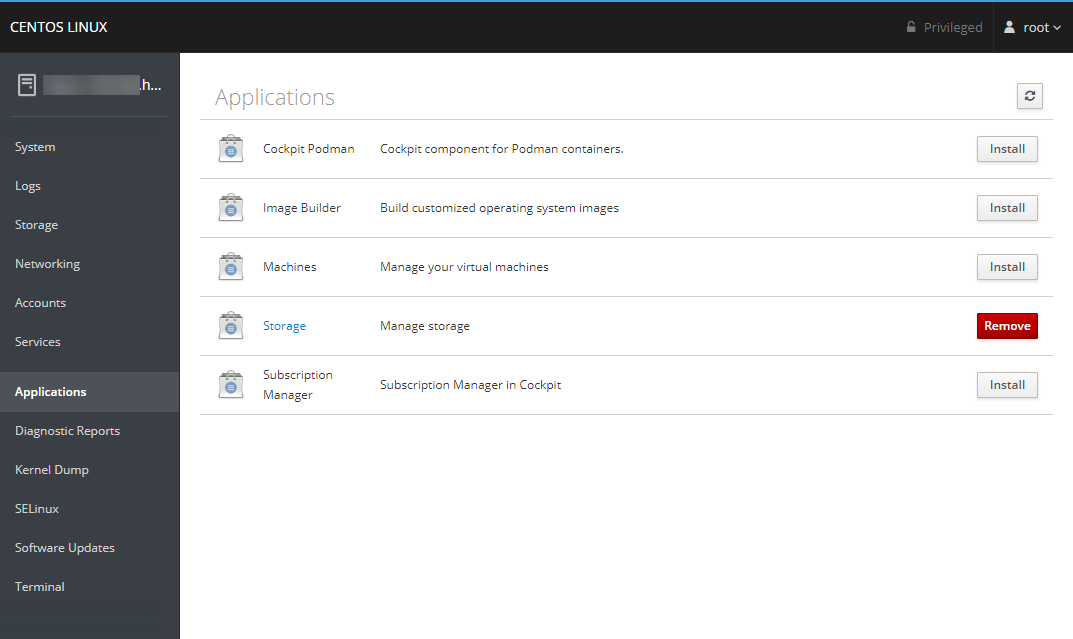
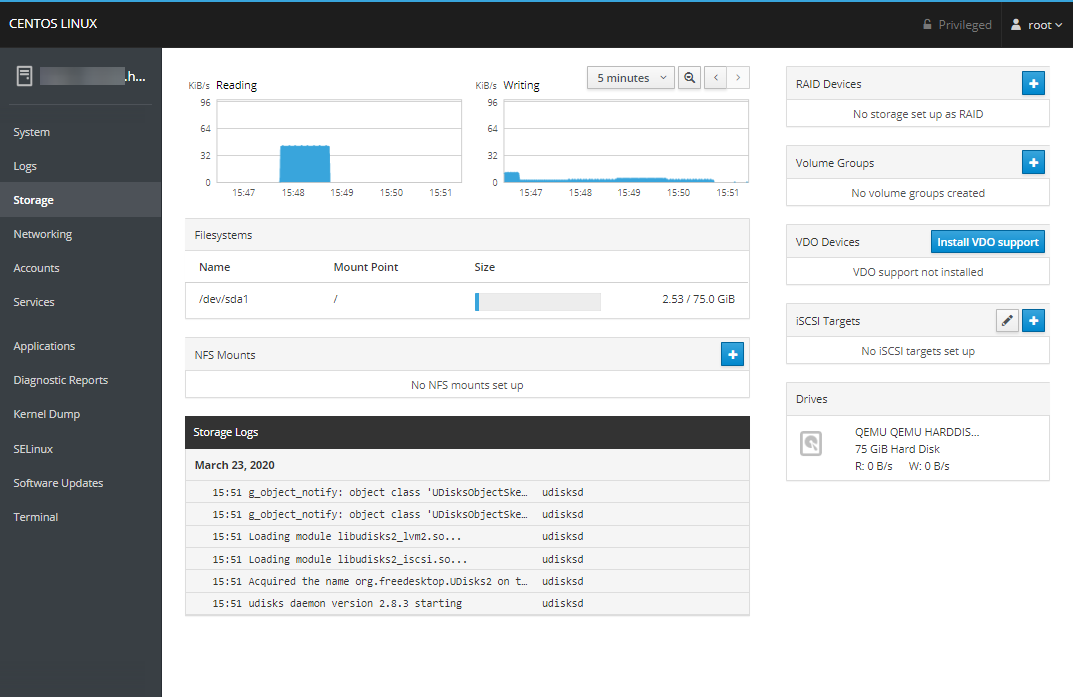
As an example, the Storage application gives you quick resource usage details on your I/O usage and available disk space. It also gives the ability to configure any additional storage devices if they are available.
Diagnostic Reports
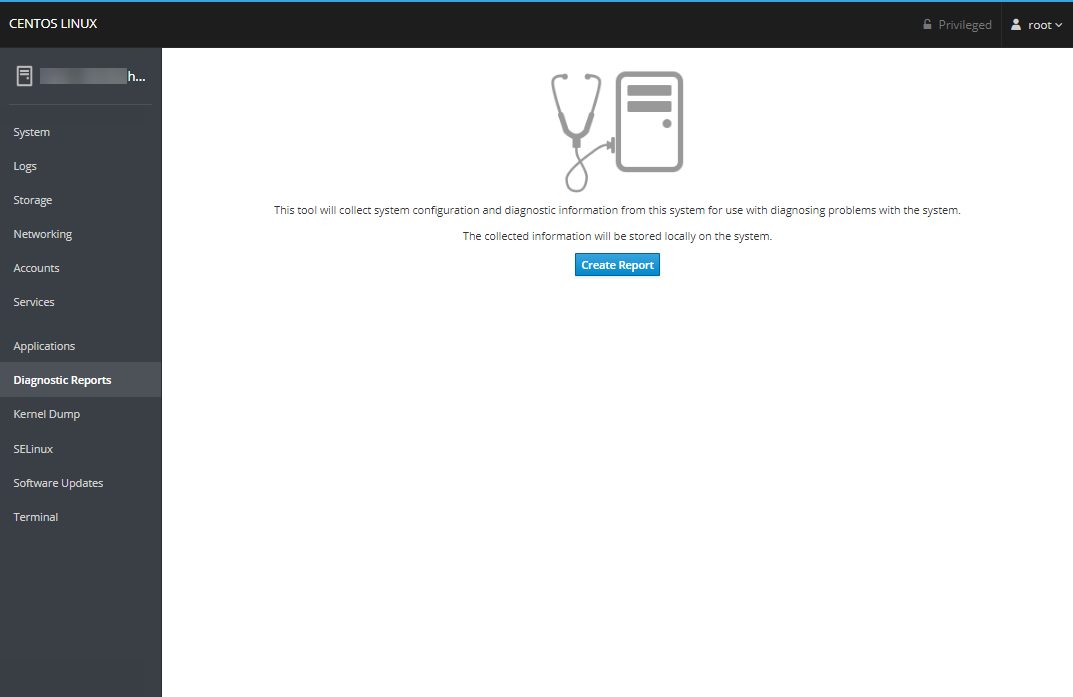
The Diagnostic Reports section allows you to generate reports about your server using sosreport.
NOTE: you may need to install the sos package first for this functionality to work:
yum install -y sos
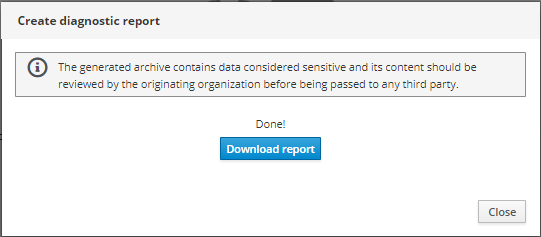
Click the 'Create Report' button to generate a report.
Kernel Dump
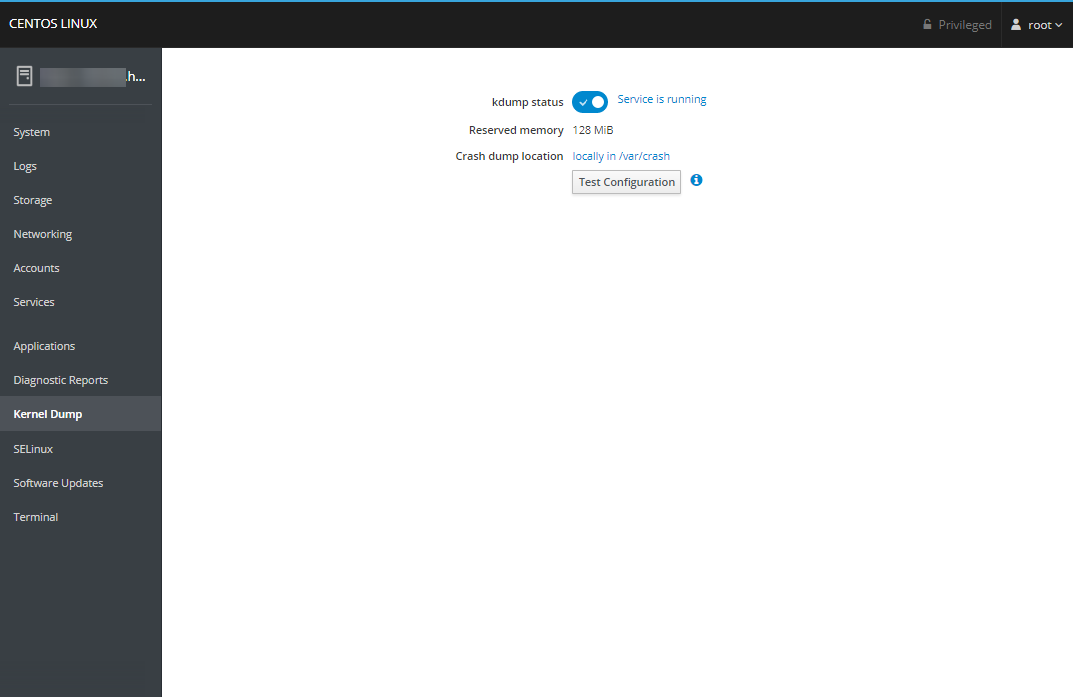
The Kernel Dump section allows you to review and manage your kdump configuration and test it by intentionally crashing the kernel.
NOTE: you may need to adjust your GRUB configuration to allocate memory for crash dumping.
You can do this by adding the text crashkernel=128M to the GRUB_CMDLINE_LINUX line in your /etc/default/grub file.
The line should then look something like this:
GRUB_CMDLINE_LINUX="console=ttyS0,115200n8 no_timer_check net.ifnames=0 crashkernel=128M"
Then run the command below to build the new configuration, and afterwards reboot the server.
grub2-mkconfig -o /boot/grub2/grub.cfg
SELinux
The SELinux section allows you to view and manage your SELinux configuration if you happen to be running an SELinux-enabled operating system.
Software Updates
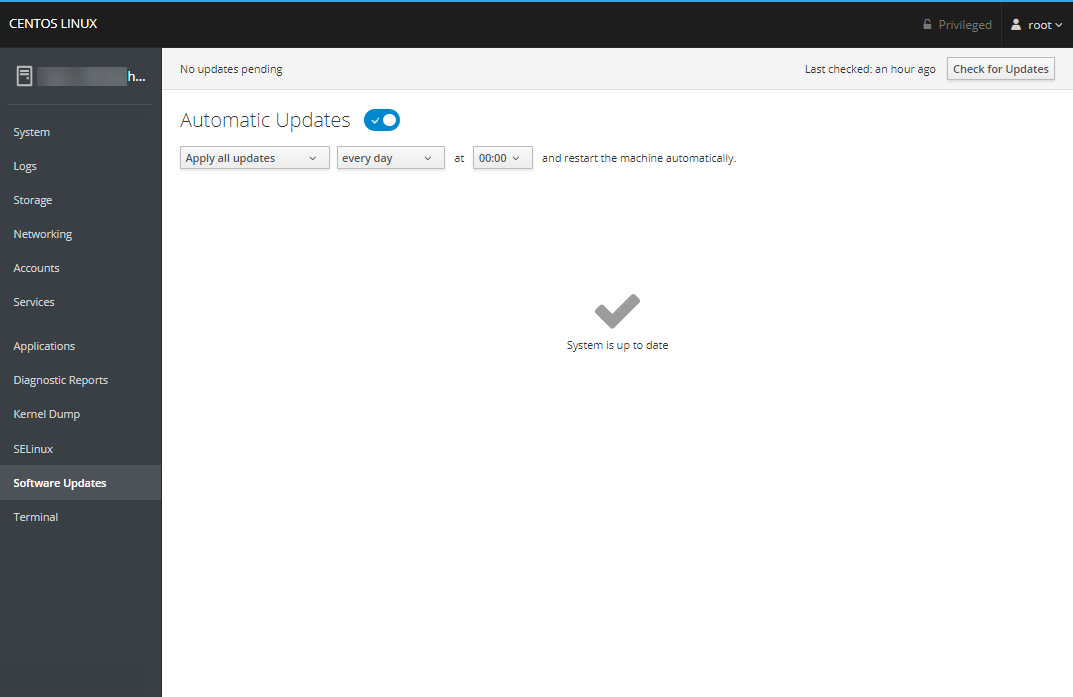
The Software Updates section allows you to check for and install any updates for your installed packages and adjust if/when automatic updates should be performed.
Terminal
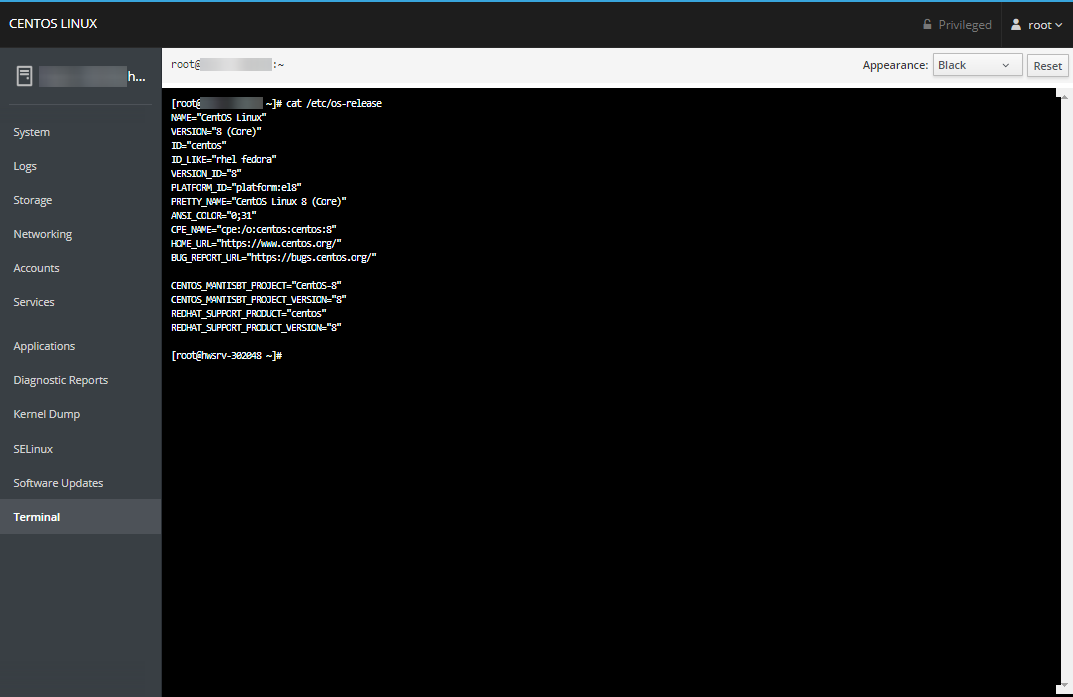
The Terminal section provides you with a command-line interface to the server through your web browser.
Written by David Hamilton / March 24, 2020
